>>
30-MINUTE MEALS! Get the email series now →


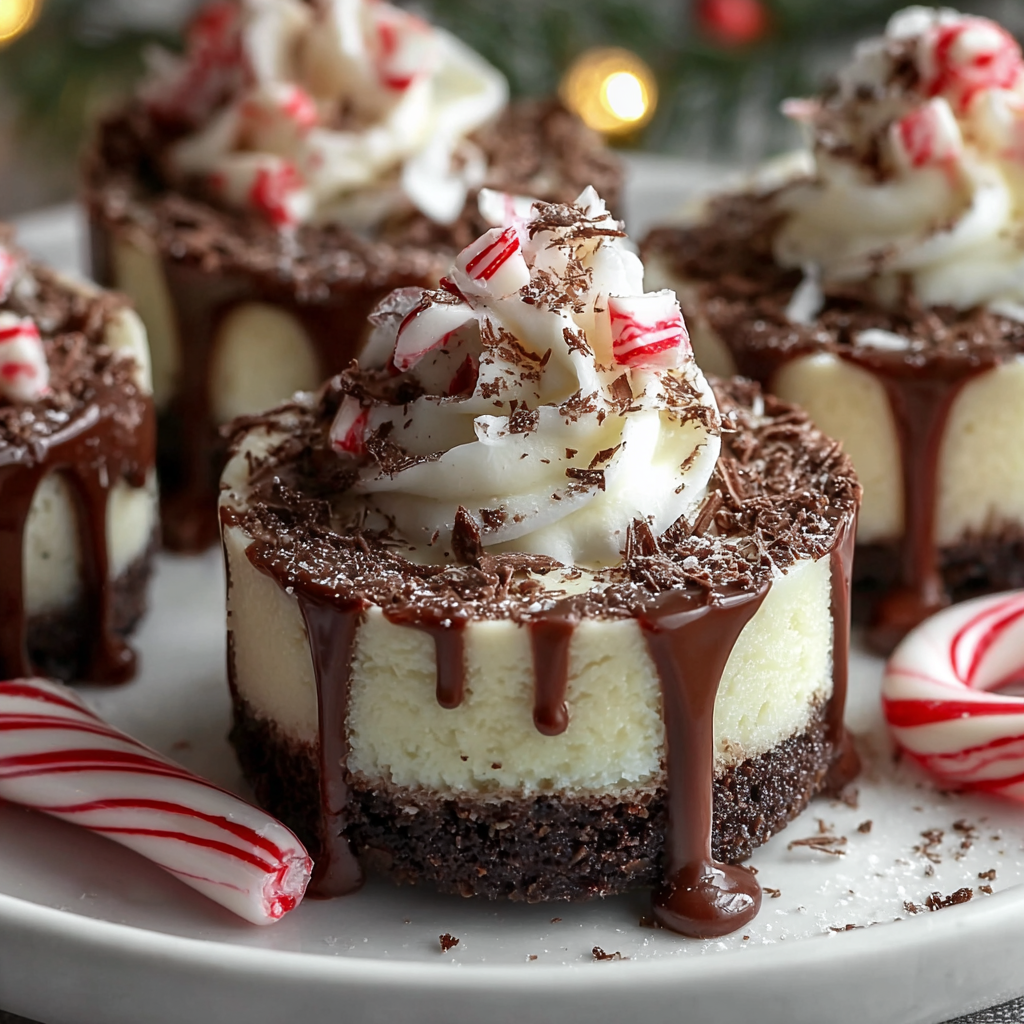
Mini no-bake chocolate peppermint cheesecakes coated in chocolate and topped with crushed candy — the perfect festive bite for holiday parties and cozy nights.
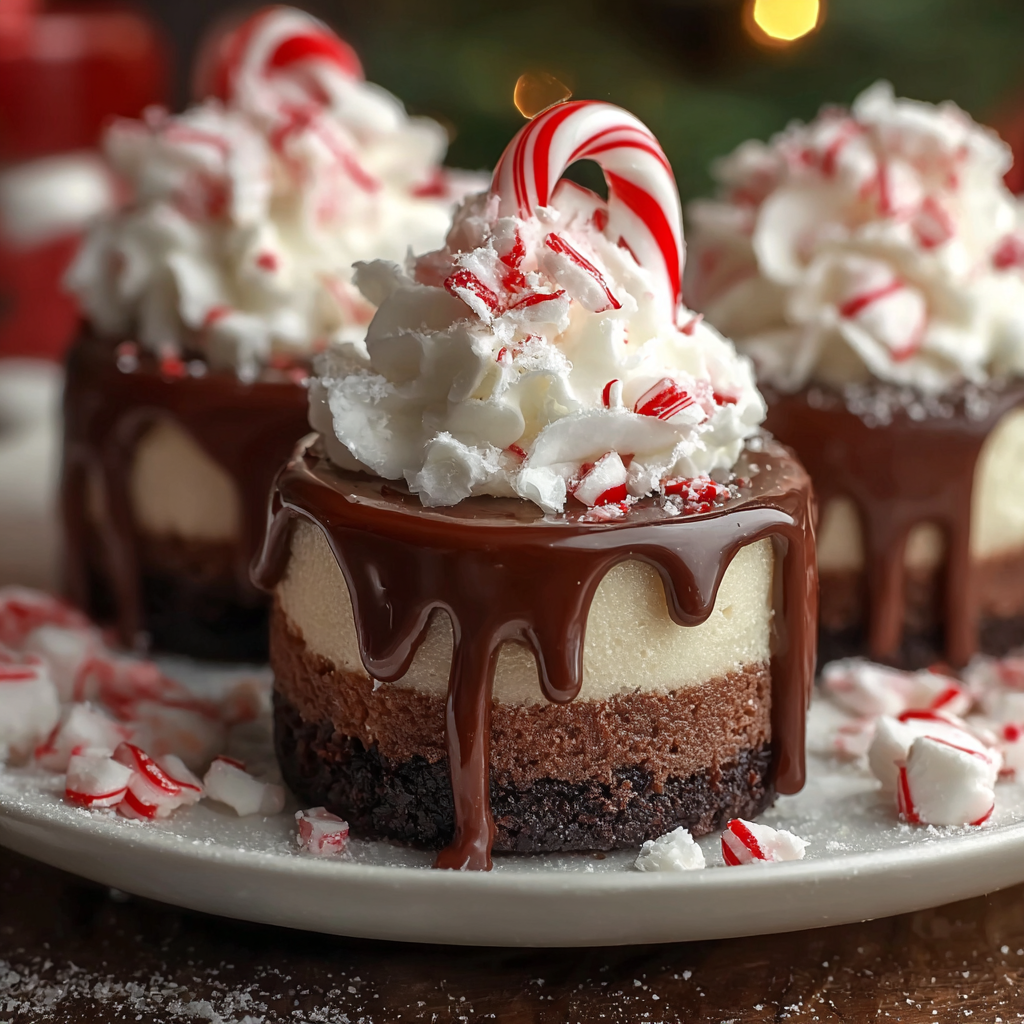
On my first try I brought a tray to a small holiday gathering and watched neighbors hover, tasting one and then another. The crunchy peppermint on top creates that joyful holiday crunch that everyone comments on; one friend told me they taste like a childhood favorite wrapped in new, grown-up flavors. I’ve tweaked the peppermint amount over the years — start with 1 teaspoon and adjust to preference, since concentrated extracts can dominate quickly.

My favorite part is watching the eyes of guests when they bite into the first one and get that burst of cool peppermint and warm cocoa together. The combination evokes cozy evenings by the fireplace and small holiday celebrations, and the mini format encourages sharing — I often make double batches because they disappear faster than I expect. Over the years I’ve learned to prepare components the day before to streamline assembly and keep my kitchen calm during gatherings.
Store chilled in a single layer or layered with parchment to prevent sticking. Refrigerate in an airtight container for up to 5 days — for longer storage, freeze on a baking sheet until solid, then transfer to a freezer-safe container for up to 3 months. Thaw in the refrigerator for several hours before serving to preserve texture; avoid bringing to room temperature for long periods as the filling softens. For transport, pack on ice or in an insulated cooler and keep the container sealed to prevent condensation on the chocolate coating.
To make dairy-free versions, use whipped coconut cream for the fold-in and replace melted butter with refined coconut oil for a neutral flavor. Swap cream cheese for a plant-based cream cheese at room temperature, but note that texture will be slightly lighter and may need extra chilling. For gluten-free, choose certified gluten-free chocolate graham crackers or crush gluten-free chocolate cookies for the crust. If you prefer a less intense peppermint, omit extract and use crushed candy cane sprinkled sparingly for a milder aroma.
Serve these bites as part of a dessert platter alongside spiced nuts, shortbread, and a small bowl of hot cocoa for dunking. Garnish with mini marshmallows or a drizzle of chocolate syrup for visual contrast. They pair beautifully with espresso or a peppermint latte for an after-dinner treat. For holiday gatherings, arrange in decorative paper cups and place on a tiered tray to make a show-stopping centerpiece that doubles as a dessert and party favor.
Miniature confections like these echo the tradition of bite-sized sweets served at European and North American holiday gatherings, where small, rich desserts allow for variety during festive spreads. The combination of chocolate and peppermint became especially popular in the United States during the 20th century as candy canes and peppermint-flavored confections became associated with Christmas. This treat blends classic no-bake American cheesecake techniques with the seasonal peppermint twist that signals holiday celebrations in many households.
In winter, emphasize peppermint with extra crushed candy and a dusting of edible glitter. For a spring or summer twist, swap peppermint for orange extract and top with candied orange zest. At Thanksgiving, mix in a pinch of cinnamon and nutmeg into the filling and replace peppermint with chopped toasted pecans. The basic format — crust, creamy filling, coating — is highly adaptable to match seasonal flavors and decorations.
Make the crust and filling a day ahead: store the crumb mixture chilled and the filling covered in the refrigerator, then assemble and freeze the next day for quick dipping. Prepare extra crushed peppermint in a sealed jar to sprinkle just before serving. Use a cookie scoop for consistent portion sizes and label containers with dates when freezing. If you’re dipping many bites, set up an assembly line: one person dips, one sprinkles, and one transfers to the tray to speed up the process and keep melted chocolate at the ideal temperature.
These hot cocoa peppermint cheesecake bites are an easy way to create a memorable dessert that captures the spirit of the season. Make a batch for your next gathering and watch them become a new holiday favorite — and don’t be surprised if guests request the recipe by name. Enjoy the process, and feel free to make them your own with small tweaks to suit your taste.
Make sure the cream cheese is fully softened to room temperature for a lump-free filling and easier mixing.
Fold whipped cream in gently with a rubber spatula to preserve airiness and avoid deflating the filling.
Freeze assembled bites until solid before dipping to help the chocolate form a clean shell.
If chocolate seizes while melting, stir in 1 teaspoon of neutral oil at a time to smooth it out.
This nourishing indulgent hot cocoa peppermint cheesecake bites recipe is sure to be a staple in your kitchen. Enjoy every moist, high protein slice — it is perfect for breakfast or as a wholesome snack any time.
This Indulgent Hot Cocoa Peppermint Cheesecake Bites recipe makes perfectly juicy, tender, and flavorful steak every time! Serve with potatoes and a side salad for an unforgettable dinner in under 30 minutes.
Beat softened cream cheese until smooth. Add powdered sugar, cocoa powder, and peppermint extract; beat until homogeneous. Fold in whipped cream gently until light and airy.
Combine chocolate graham crumbs with melted butter until the texture resembles wet sand. Press about 1 tablespoon into each paper-lined mini muffin cup.
Spoon the chocolate filling into each crust-lined cavity, filling three-quarters full. Sprinkle crushed peppermint on top and freeze for at least 2 hours until solid.
Melt semi-sweet chocolate in 30-second intervals, stirring until glossy. Dip each frozen bite in melted chocolate, let excess drip, then place on parchment and sprinkle more crushed peppermint immediately.
Allow the coated bites to set at room temperature for 10 minutes or refrigerate to speed up setting. Store chilled in an airtight container up to 5 days or freeze up to 3 months.
Last Step: Please leave a rating and comment letting us know how you liked this recipe! This helps our business to thrive and continue providing free, high-quality recipes for you.
Leave a comment & rating below or tag
@mrsrecipe on social media!

A crispy, tender chicken fried steak with a rich sausage cream gravy — classic comfort food perfect for family dinners and weekend indulgence.

Tall, cloudlike pancakes with a delicate eggy interior and golden exterior, perfect for a celebratory breakfast or a relaxed weekend treat.

Bell peppers filled with a rich, creamy chicken and cheese mixture—simple to assemble, family-friendly, and perfect for weeknight dinners or make-ahead meals.
Leave a comment & rating below or tag @mrsrecipe on social media!
Enjoyed this recipe? Share it with friends and family, and don't forget to leave a review!
This recipe looks amazing! Can't wait to try it.
Comments are stored locally in your browser. Server comments are displayed alongside your local comments.
Quick and easy dinner ideas delivered to your inbox.
