
Moose Farts (Chocolate Coconut No-Bake Treats)

A nostalgic, no-bake coconut and chocolate bite — sweetened condensed milk binds graham crumbs, shredded coconut and chocolate into irresistible freezer-ready treats.
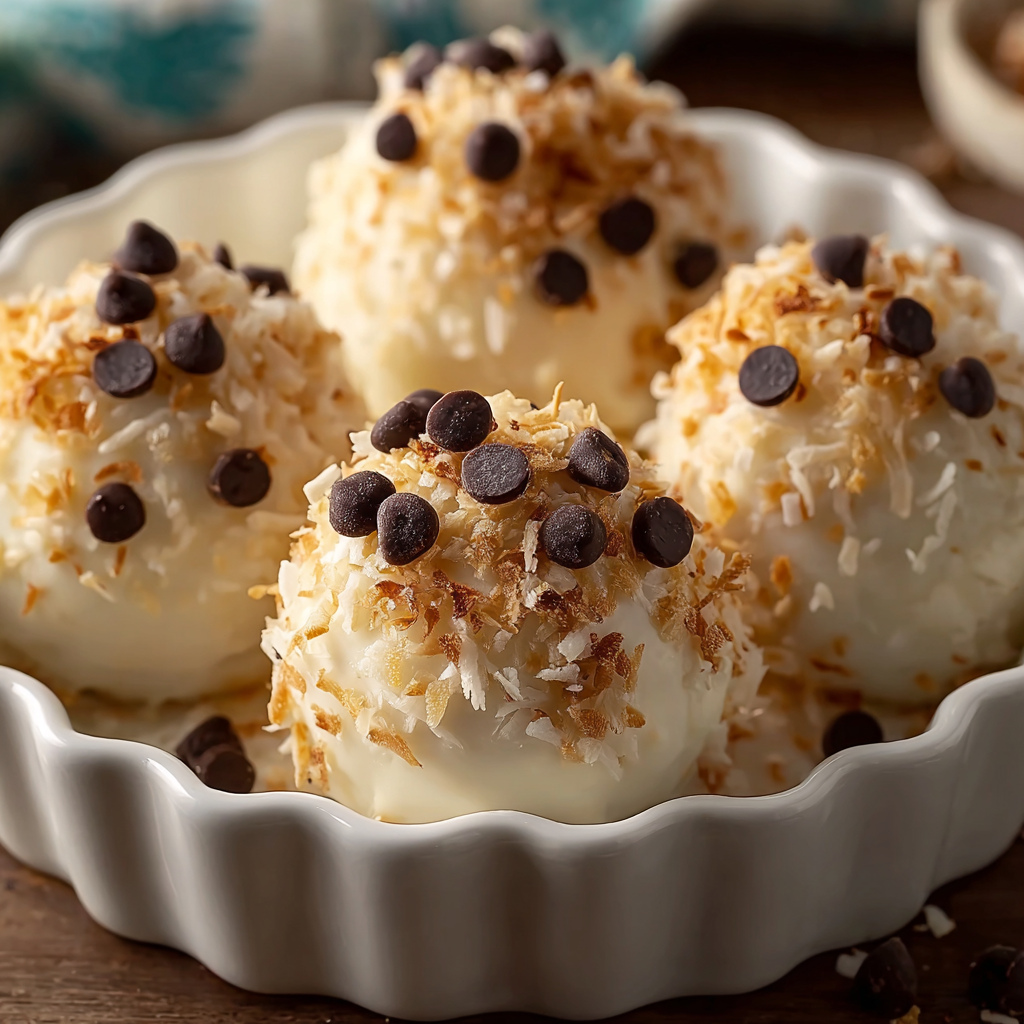
This little no-bake confection, affectionately called "Moose Farts," has been a festive staple at our family gatherings for years. I first made them one snowy December when I needed a quick, fuss-free sweet to bring to a cookie exchange. They were meant to be a back-up plan, but the chewy texture and chocolate pockets made them the runaway favorite. The combination of sweetened condensed milk, shredded coconut, graham crumbs and chocolate chips creates a satisfying mix of chew, crunch and creamy chocolate that kids and adults both reach for again and again.
What makes these treats special is their simplicity and the way the flavors come together: buttery graham crumbs give a gentle toasted note, the condensed milk brings fat and sugar for tenderness and gloss, shredded coconut adds chew and tropical perfume, and pockets of melted chocolate add luxurious goo. They are a perfect example of how pantry staples can be turned into something memorable in under 30 minutes of hands-on time. Over the years I've learned small technique tweaks — like gently melting the butter and tempering the chocolate chips — that improve texture and finish, and I share those below so you get consistent success.
Why You'll Love This Recipe
- Quick no-bake method: active prep is about 20 minutes and they set in the fridge or freezer, so you can make them ahead of parties or holidays.
- Uses pantry staples: sweetened condensed milk, shredded coconut, graham crackers and chocolate chips — ingredients that are easy to keep on hand.
- Kid-friendly and crowd-pleasing: sweet, chewy and chocolatey, a safe bet for mixed-age crowds and bake sales.
- Customizable finish: roll in extra graham crumbs, shredded coconut, or cocoa powder for different textures and eye appeal.
- Freezer-friendly: make larger batches and freeze for up to 3 months; thaw briefly before serving for a softer center.
- Minimal equipment and skill required: perfect for beginners but satisfying enough for seasoned home cooks who appreciate quick sweets.
My family always asks for a second tray. On one holiday my nephew declared them "better than cookies" after his first bite — a high compliment from a seven-year-old who ranks sweets by melt-in-mouth performance. I often make a double batch to keep some in the freezer for unexpected guests.
Ingredients
- Sweetened condensed milk (1 can, about 14 oz): This is the binding and sweetening agent. I use a full 14-ounce can (Eagle Brand or store brand) — its density and sugar content are crucial for chewy texture.
- Unsalted butter (1/4 cup, melted): Adds richness and helps the graham crumbs bind without becoming greasy. Melt gently so it stays liquid but not hot.
- Vanilla extract (1 teaspoon, optional): A small addition but it lifts the whole mixture with warm aromatic notes. Use pure vanilla if possible.
- Shredded coconut (1 1/2 cups): Fine or medium shred both work; fine yields a smoother interior while medium offers more chew. I use sweetened shredded coconut for extra sweetness, but unsweetened is fine if you prefer less sugar.
- Graham cracker crumbs (1 1/2 cups): About 1 1/2 cups tightly packed. Crush whole graham crackers in a plastic bag or pulse in a food processor. Nabisco-style graham crackers work well; digestive biscuits or similar cookies can be swapped if needed.
- Chocolate chips (1 1/2 cups): Mini or regular chips are fine. I like semi-sweet or dark chips (Ghirardelli or Hershey’s) to balance the sweetness of condensed milk and coconut.
- Extra graham crumbs or shredded coconut: For rolling. Keeps the surface from sticking and creates a pretty finish.
Instructions
Prepare your workspace: Line a baking sheet with parchment paper or a silicone mat. Measure ingredients and have small bowls ready for rolling. Chilled trays and parchment shorten set time and make clean-up easy. Combine wet ingredients: In a medium mixing bowl pour the entire 14-ounce can of sweetened condensed milk. Add the melted butter and 1 teaspoon vanilla, stirring until fully combined. The mixture should be glossy and slightly viscous; if the butter has hardened, briefly warm the bowl over a saucepan of hot water and stir until smooth. Add dry ingredients: Fold in 1 1/2 cups shredded coconut and 1 1/2 cups graham cracker crumbs. Use a spatula to incorporate, then add 1 1/2 cups chocolate chips and gently stir. The mixture will be thick but scoopable — hold together when pressed; if too wet, add 1–2 tablespoons more crumbs. Form the bites: Use a teaspoon or small cookie scoop to portion the mixture into bite-sized balls (roughly 1 inch). Press between palms to shape. Place balls on the prepared tray spaced slightly apart. If sticking is an issue, lightly oil hands or wear food-safe gloves. Coat and finish: Roll each ball in extra graham crumbs or shredded coconut so they’re evenly coated. Press gently to adhere. For a neater look, roll in finely crushed graham crumbs; for a rustic look, use coconut flakes. Chill to set: Refrigerate the tray for at least 1 hour to firm up, or freeze for 20–30 minutes if you’re in a hurry. The condensed milk will set and the chocolate chips will become slightly firmer, giving a pleasant bite. Serve or store: Transfer to a serving plate or store in an airtight container. If storing in layers, separate with parchment. Thaw from frozen for 10–15 minutes before serving for a softer center.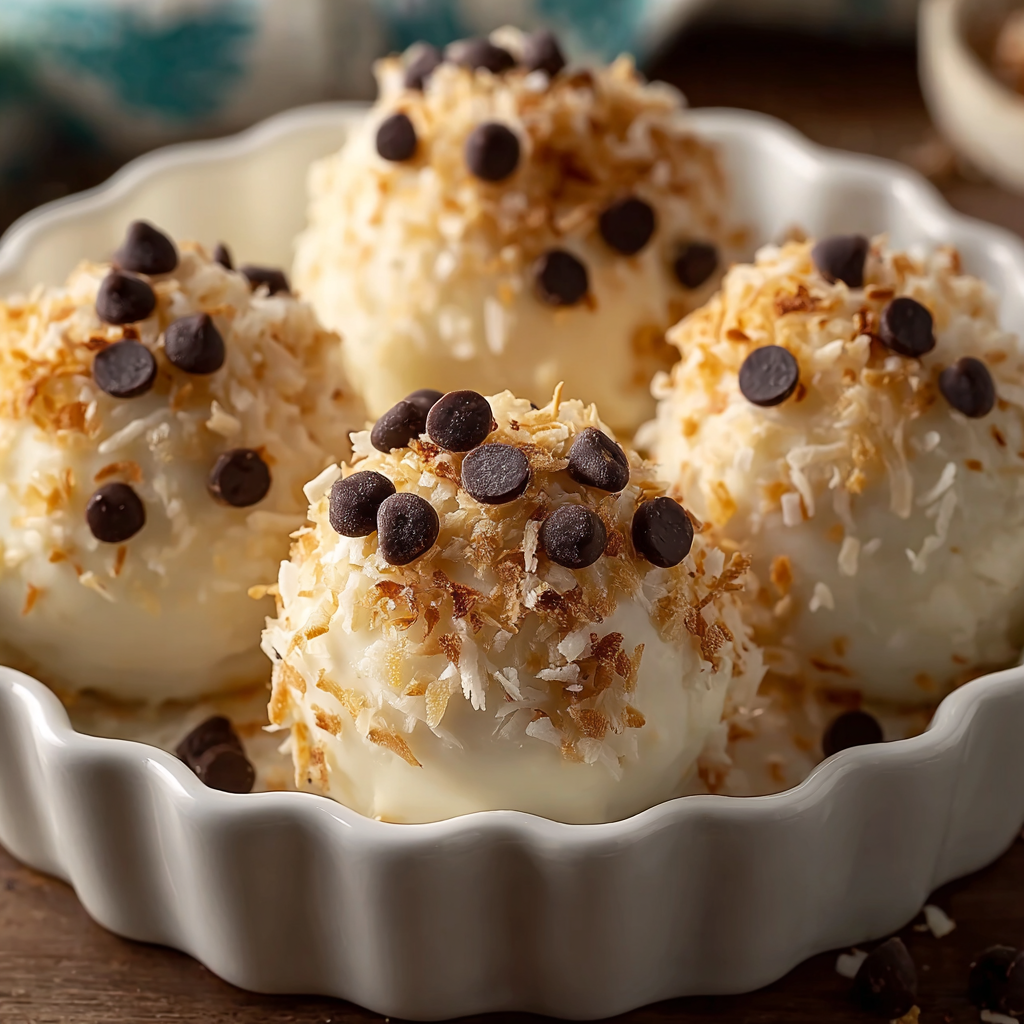
You Must Know
- These bites are high in sugar and rich in calories — treat them as an occasional indulgence; they freeze well for up to 3 months in airtight containers.
- Left at room temperature they stay firm for a day; after that refrigerate to prevent stickiness and maintain shape.
- Coconut contributes chew and texture; swapping to unsweetened coconut lowers sugar slightly but changes the final sweetness balance.
- If you have coconut sensitivities, roll in crushed graham crumbs or cocoa powder instead of coconut for a safe finish.
- Make-ahead friendly: prepare up to two weeks in advance and keep chilled, or freeze for long-term storage.
My favorite aspect is how forgiving the mixture is. Once you learn the right density — scoopable and just holding together — you can improvise with mix-ins like chopped pecans or orange zest. One holiday I added a teaspoon of espresso granules to the mix and it deepened the chocolate flavor in the most pleasant way; my friends immediately asked how I did it.
Storage Tips
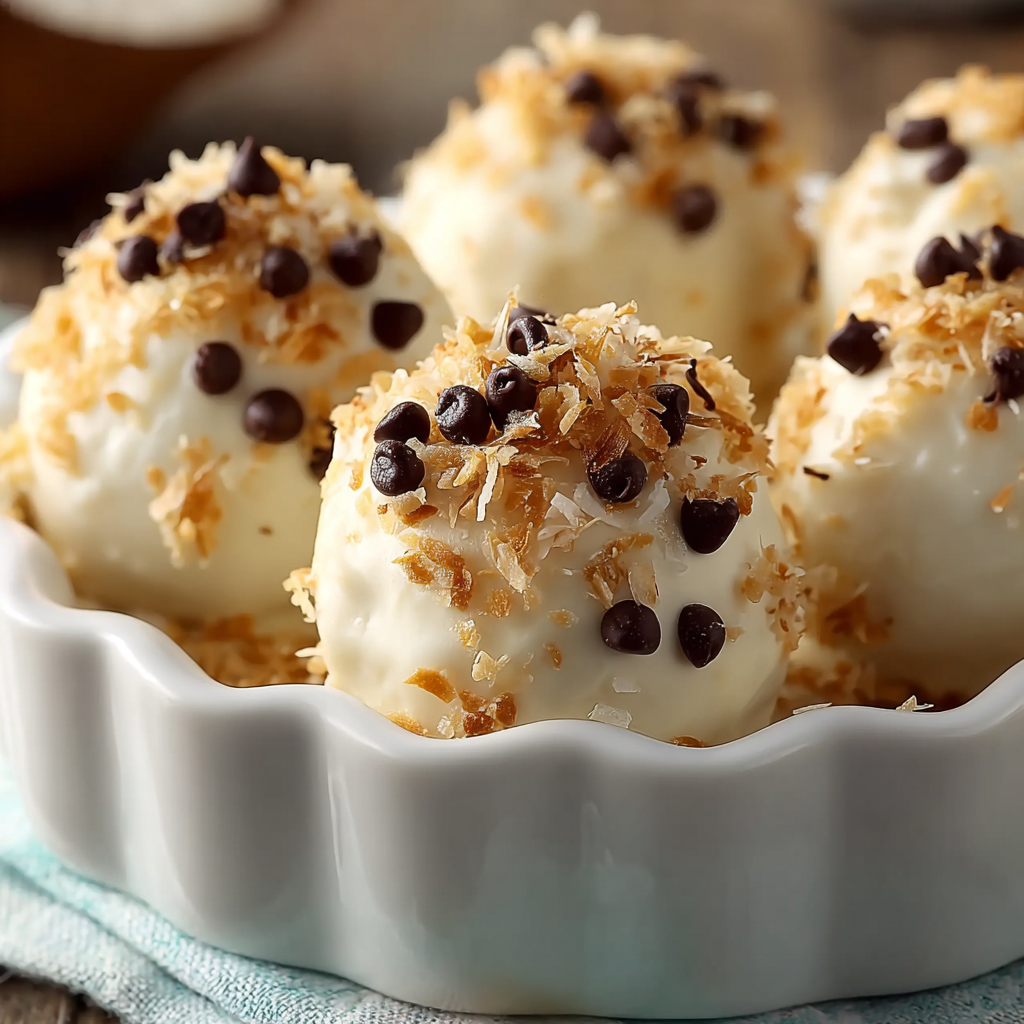
Store in an airtight container layered with parchment paper to prevent sticking. In the refrigerator they keep well for up to 2 weeks; in the freezer they retain best quality for about 3 months. For freezing, spread the formed bites on a tray until solid, then transfer to a freezer-safe bag or container to avoid them fusing together. To serve from frozen, remove 10–15 minutes prior to eating so the center softens slightly; if you prefer a firmer chew let them sit longer. Avoid storing in warm places to prevent the chocolate chips from softening and causing stickiness.
Ingredient Substitutions
If you need to adapt ingredients, here are reliable swaps: use crushed graham crackers replacement with crushed digestive biscuits, shortbread or vanilla wafers for a different flavor profile (1:1 by volume). Replace butter with coconut oil (melted) for a dairy-free option — this also enhances the coconut character. Swap chocolate chips with chopped chocolate bars or white chocolate for visual variety. For a lower-sugar version, use unsweetened shredded coconut and reduce chocolate chips to 1 cup, adding a tablespoon of unsweetened cocoa powder to maintain chocolate flavor without extra sugar.
Serving Suggestions
Arrange on a platter dusted with cocoa or finely crushed graham crumbs and garnish with a few whole chocolate chips or toasted coconut flakes for contrast. They pair nicely with coffee or a simple black tea. For holiday parties, place in mini paper liners for a professional presentation. Try a platter mixed with a few mint-flavored or espresso-spiked batches for variety — they’re perfect as an after-dinner bite or part of a dessert board with fruit and cheeses.
Cultural Background
These bites are a playful example of North American holiday confectionery that relies on sweetened condensed milk as a binder — a technique found in many no-bake sweets like rum balls and chocolate squares. While the whimsical name "Moose Farts" likely originated in informal family circles and potluck culture, the composition is rooted in pragmatic, make-ahead celebration cooking where convenience and crowd-pleasing flavors reign. They reflect the inventive ways home cooks repurpose pantry ingredients into festive treats.
Seasonal Adaptations
For winter holidays add 1/2 teaspoon ground cinnamon and a pinch of nutmeg to the mixture, or fold in chopped candied orange peel for a citrus note. In summer keep the batch chilled and serve with fresh berries to cut the sweetness. For Valentine’s Day mix in a tablespoon of freeze-dried raspberry powder or roll in pink-colored coconut for a themed presentation. These small swaps instantly tailor the bite to the season without changing the method.
Meal Prep Tips
Make a double batch and portion into small containers for grab-and-go snacks. Use freezer-safe portion boxes so you can thaw just a few at a time. For gifting, arrange 12–24 pieces in a decorative box with parchment paper and ribbon — they travel well when kept cool. When prepping ahead, form and freeze the raw balls on a tray before transferring to bags; this prevents them from sticking and allows you to bag single servings for lunchboxes or emergency dessert needs.
These little bites are proof that pantry ingredients can be turned into something festive and memorable with minimal effort. Make them your own with a few flavor twists, keep some in the freezer for company, and enjoy the way simple ingredients can bring people together around the table.
Pro Tips
If the mixture is too wet, add extra graham cracker crumbs one tablespoon at a time until scoopable.
Chill the tray before forming if your hands warm the mixture and make it sticky while shaping.
For cleaner shaping, use a small cookie scoop and lightly oil your palms to prevent sticking.
Toast shredded coconut briefly in a 350°F oven for 5 minutes for deeper flavor, then cool before adding.
This nourishing moose farts (chocolate coconut no-bake treats) recipe is sure to be a staple in your kitchen. Enjoy every moist, high protein slice — it is perfect for breakfast or as a wholesome snack any time.
FAQs about Recipes
How long do Moose Farts keep?
Yes — store in an airtight container in the refrigerator for up to 2 weeks or frozen for up to 3 months. Thaw briefly before serving.
Can I melt the chocolate to make the center gooier?
Use a double boiler or microwave in 10-second bursts to gently melt for a softer, more fudgy center.
Tags
Recipe data validation failed
Please check the recipe data format. See console for details.
Categories:
You might also like...
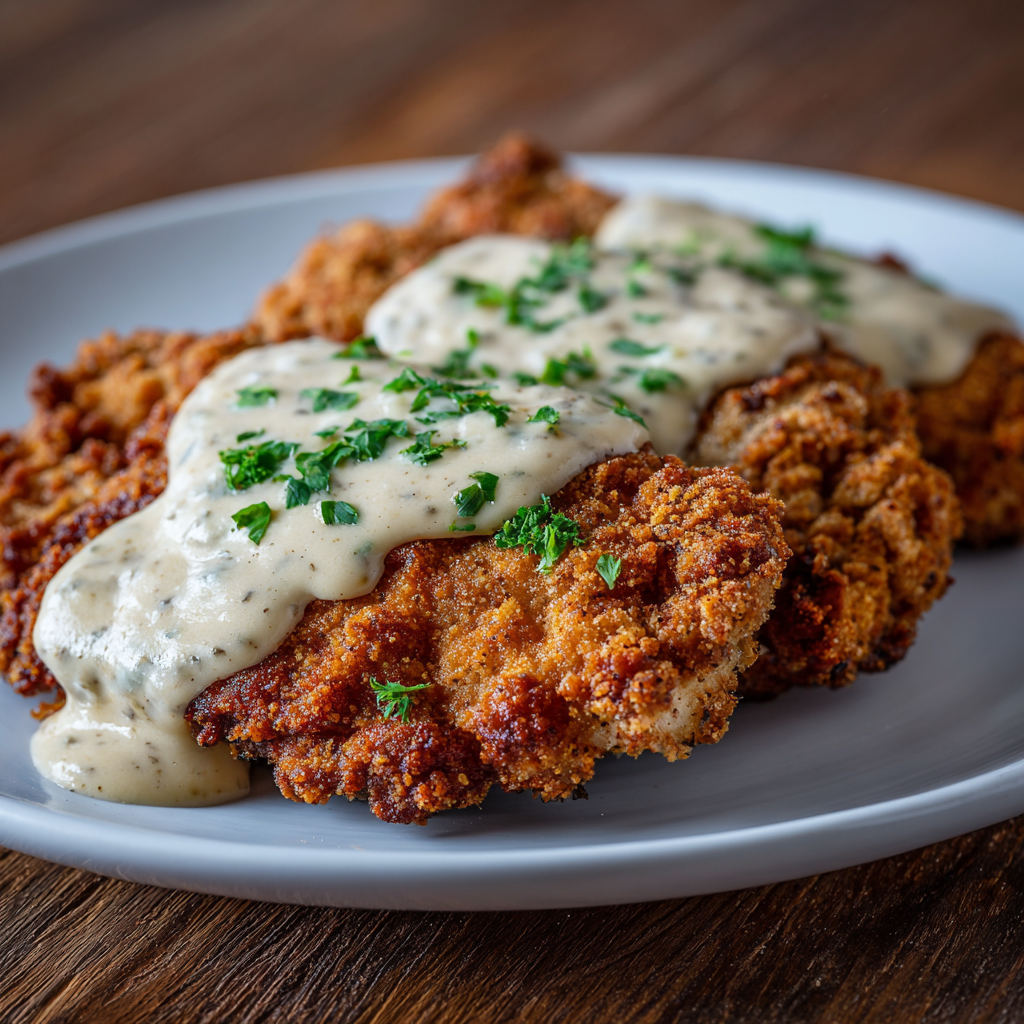
Best Chicken Fried Steak
A crispy, tender chicken fried steak with a rich sausage cream gravy — classic comfort food perfect for family dinners and weekend indulgence.
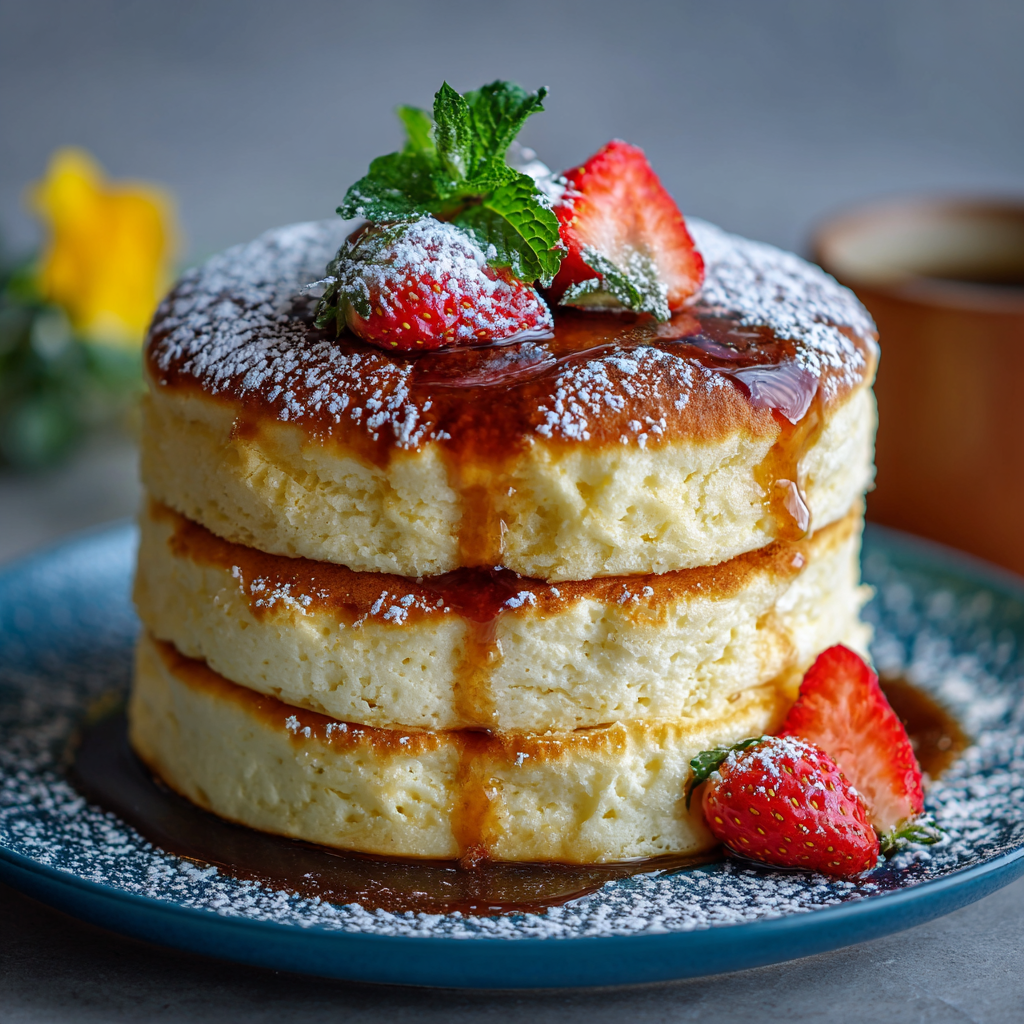
Fluffy Japanese Soufflé Pancakes
Tall, cloudlike pancakes with a delicate eggy interior and golden exterior, perfect for a celebratory breakfast or a relaxed weekend treat.

Creamy Chicken Stuffed Peppers
Bell peppers filled with a rich, creamy chicken and cheese mixture—simple to assemble, family-friendly, and perfect for weeknight dinners or make-ahead meals.
Did You Make This?
Leave a comment & rating below or tag @mrsrecipe on social media!
Rate This Recipe
Share This Recipe
Enjoyed this recipe? Share it with friends and family, and don't forget to leave a review!
Comments (1)
This recipe looks amazing! Can't wait to try it.
Comments are stored locally in your browser. Server comments are displayed alongside your local comments.
Hi, I'm Clara!
What's Popular
Get My 30-Minute Meals email series!
Quick and easy dinner ideas delivered to your inbox.