
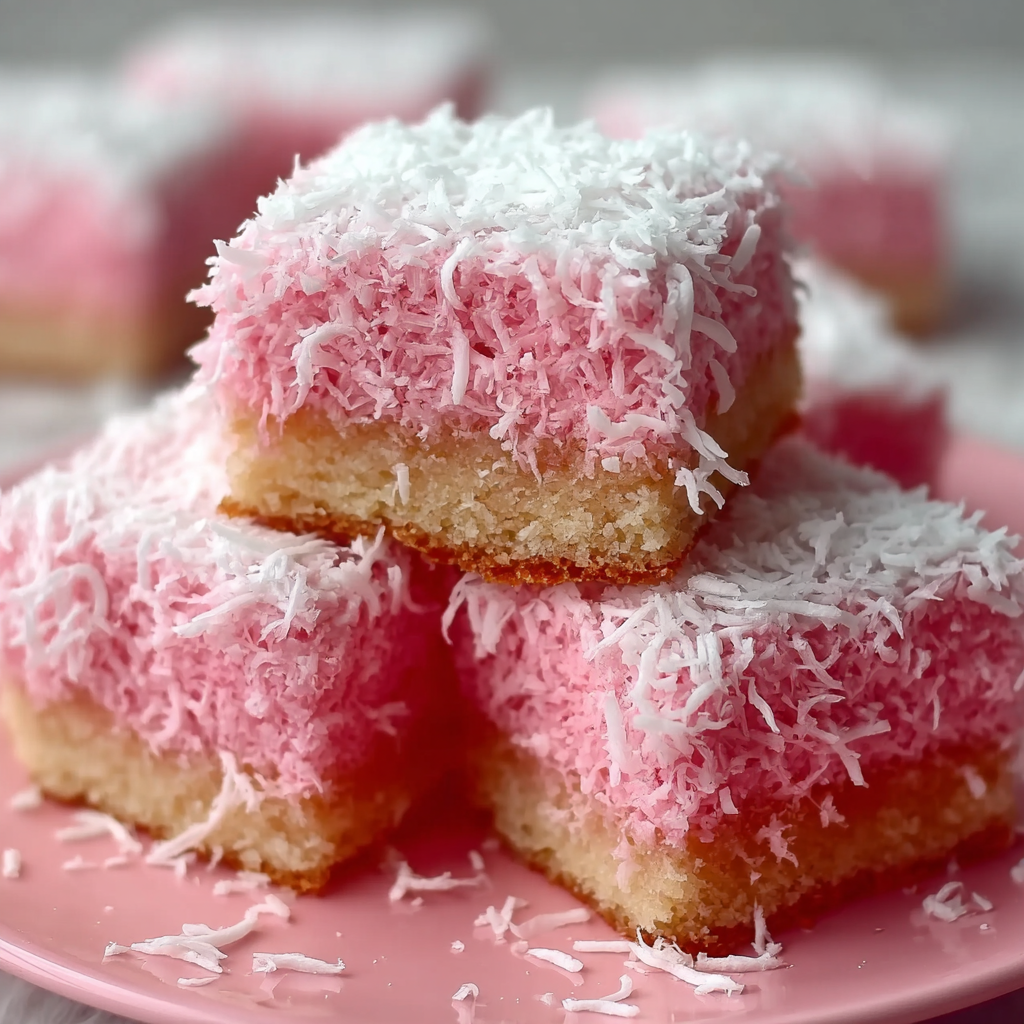
Pink Coconut Snowball Cake Bars

A playful, chocolatey sheet cake topped with a pink, coconut snow that’s perfect for parties, bake sales, or an everyday sweet treat.
This Pink Coconut Snowball Cake Bars recipe has been my go-to when I want something that feels both nostalgic and a little whimsical. I first stumbled on the idea years ago at a neighborhood potluck when someone brought a chocolate sheet cake with a bright, coconut frosting. It vanished within minutes and I spent the rest of the night thinking about the contrast between the dense, fudgy base and the sweet, snowy coconut top. Since then I’ve tweaked the balance — adding just the right amount of butter for tenderness and a dusting of powdered sugar in the topping — until it became a reliable favorite at birthdays and afternoon tea.
What makes these bars special is the texture play: a moist, tender cocoa cake that holds together for neat bars, topped with a spreadable coconut layer that sets soft but keeps its snowball appearance. The optional pink tint adds a cheerful pop for showers or holidays. I often make a double batch because they travel beautifully and keep their flavor when stored properly. The recipe is forgiving for beginner bakers but offers small techniques that give a professional touch: gentle folding, watching for the toothpick cue, and spreading the coconut topping while the cake is fully cool to avoid melting the sugar.
Why You'll Love This Recipe
- Comforting chocolate base: a single-layer sheet cake that's rich but not heavy, made with pantry staples so you can pull it together in under an hour.
- Quick topping: shredded coconut, powdered sugar, and a splash of milk combine into a spreadable frosting in seconds — no mixer required.
- Visual appeal: the pale-pink snow creates a festive look for parties, showers, or spring gatherings when a bright dessert is called for.
- Make-ahead friendly: the bars slice cleanly after chilling and hold well in an airtight container for 3 days or in the freezer for longer.
- Kid-approved and crowd-pleasing: sweet but balanced, with a chewy coconut contrast that adults love too.
- Adaptable: swap coconut milk for dairy milk for a subtle coconut flavor or add toasted coconut for a deeper, nutty note.
I remember bringing these to my daughter’s school bake sale and watching classmates pick them first; the pink color caught their eye and the texture kept them coming back for more. At home my husband always claims the corner pieces, saying the edges concentrate both cake crust and topping in the best way.
Ingredients
- All-purpose flour: Use 1.5 cups (approx. 188 g) for structure — King Arthur or Gold Medal work well. Spoon into the cup and level for accuracy to keep the cake tender, not dry.
- Granulated sugar: 1 cup (200 g) adds sweetness and helps create a soft crumb. Regular white sugar is best here for even dissolving.
- Unsweetened cocoa powder: 1/2 cup (approx. 40 g) provides chocolate depth. I prefer Dutch-process for darker flavor, but natural cocoa is fine; either will darken the cake.
- Baking powder: 1 teaspoon to give the sheet a gentle lift — make sure it is fresh for best rise.
- Salt: 1/2 teaspoon to balance sweetness and brighten the chocolate.
- Unsalted butter: 1/2 cup (113 g), melted — gives richness. If using salted butter, reduce added salt slightly.
- Large eggs: 2 eggs at room temperature help with structure and shine; room temp gives a more even batter.
- Vanilla extract: 1 teaspoon for aroma; pure vanilla enhances the chocolate notes.
- Shredded coconut: 1 cup (approx. 80 g), sweetened or unsweetened depending on your preference. Unsweetened gives a less cloying finish.
- Powdered sugar: 1/2 cup (60 g) to sweeten and bind the coconut into a spreadable snow.
- Milk or coconut milk: 1–2 tablespoons to loosen the topping to a spreadable consistency; coconut milk will intensify coconut flavor.
- Pink food coloring (optional): A few drops to tint the topping for a festive look; gel color requires less than liquid color.
Instructions
Prepare the oven and pan: Preheat to 350°F (175°C). Grease an 8x8-inch (20x20 cm) pan with butter or nonstick spray and line with parchment for easy removal. This ensures even baking and clean edges. Mix dry ingredients: Whisk together 1.5 cups flour, 1 cup sugar, 1/2 cup cocoa powder, 1 teaspoon baking powder, and 1/2 teaspoon salt in a medium bowl until well blended and no lumps remain. Sifting cocoa with the flour helps eliminate clumps and distributes rising agent evenly. Combine wet ingredients: In a separate bowl whisk the melted 1/2 cup butter, 2 large eggs, and 1 teaspoon vanilla until smooth. Warm butter should be slightly cooled to avoid cooking the eggs — aim for a mix-in temperature around 100–110°F (38–43°C). Bring batter together: Pour the wet ingredients into the dry and stir gently until just combined. Over-mixing develops gluten and leads to a denser crumb; stop once there are no visible streaks of flour. Bake: Spread the batter evenly in the prepared pan and bake 20–25 minutes, until a toothpick inserted in the center comes out with a few moist crumbs but no raw batter. Rotate the pan at 12 minutes if your oven has hot spots. Cool completely: Let the cake cool fully in the pan on a wire rack — at least 45 minutes — before adding the topping. Topping spread will melt on warm cake, so patience yields neater bars. Make the coconut snow: Mix 1 cup shredded coconut with 1/2 cup powdered sugar and 1–2 tablespoons milk until spreadable. Add pink food coloring a drop at a time to reach your hue. If it’s too thin, add a touch more coconut or powdered sugar to thicken. Top and slice: Spread the coconut mixture evenly over the cooled cake, press gently for adhesion, then chill 15–20 minutes to set slightly. Use a sharp knife wiped between cuts to slice into 12 bars for clean edges.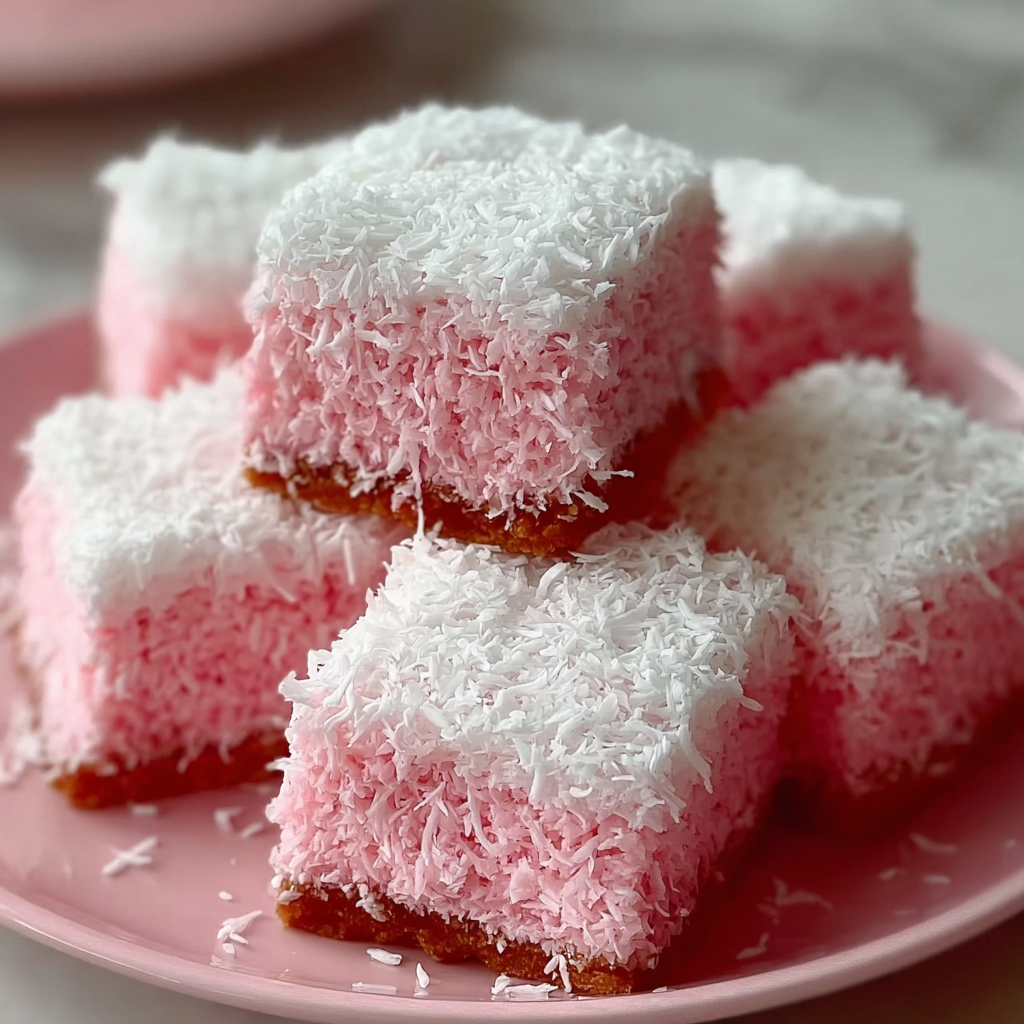
You Must Know
- The bars keep well: store in an airtight container in the refrigerator for up to 3 days or freeze for up to 2 months; thaw in the fridge overnight.
- Texture tip: cool the sheet completely before topping to prevent the powdered sugar from dissolving into a glaze.
- Dietary note: contains wheat, eggs, dairy (butter) and coconut — not suitable for strict vegan or gluten-free diets without substitutions.
- Make-ahead: bake the cake a day ahead, cool and wrap tightly; prepare and add topping the day you serve for freshest texture.
- Serving size: yields about 12 medium bars; adjust cutting pattern for smaller or larger portions.
My favorite thing about these bars is how they brighten up a table without being fussy. At family gatherings I’ll bake two pans: one with a pink top for celebrations and one natural white for everyday snacking. Kids love helping tint the topping, which makes it a fun activity for rainy afternoons. The simplicity is deceptive — small techniques like whisking the dry ingredients and cooling fully make a big difference in the final texture.
Storage Tips
Store bars in a single layer in an airtight container in the refrigerator for up to 3 days to preserve the coconut texture and prevent the chocolate from becoming overly soft. For longer keeping, freeze in a freezer-safe box with parchment between layers for up to 2 months. Thaw in the refrigerator to minimize moisture on the topping; bring to room temperature for 20–30 minutes before serving if you prefer a softer mouthfeel. Use glass or BPA-free plastic containers; avoid sealing while warm to prevent condensation which can make the coconut soggy.
Ingredient Substitutions
To make dairy-free, swap melted butter for an equal amount of refined coconut oil or vegan butter and use coconut milk for the topping. For gluten-free, replace the flour with a 1:1 gluten-free baking blend and add 1/4 teaspoon xanthan gum if your blend lacks binders. If you want less sweetness, reduce powdered sugar in the topping by 1–2 tablespoons and add a pinch more salt to the cake. For a nuttier topping, fold in 1/4 cup toasted flaked almonds; for extra chew, use sweetened shredded coconut instead of unsweetened.
Serving Suggestions
Serve bars slightly chilled or at room temperature with a dusting of additional powdered sugar for a snow-like finish. They pair well with unsweetened whipped cream or a scoop of vanilla ice cream for a richer dessert. For brunch, present them alongside fresh berries and a light yogurt; for parties, place on a platter garnished with edible flowers or candied citrus. The bars also travel well — pack in a picnic box with parchment to keep the coconut topping intact.

Cultural Background
Chocolate sheet cakes topped with coconut frostings have roots in American home baking traditions where simplicity and ease were prized. The idea of a “snowy” coconut top is reminiscent of classic mid-century desserts where bright colors and festive toppings made treats feel celebratory. Coconut itself travelled globally, and its adoption in American sweets added texture and tropical notes to traditional flavors. This recipe blends that nostalgic approach with modern convenience, using a single-bowl cocoa base paired with a quick, no-bake coconut spread.
Seasonal Adaptations
In spring, tint the coconut pastel pink or lavender for showers; for winter, leave the topping white and add crushed peppermint on top for a holiday touch. Summer adaptations include folding in a tablespoon of lime zest to the topping for a fresher contrast, or swapping cocoa for 2 tablespoons instant coffee to deepen flavor for cooler months. For Valentine’s Day, use a stronger pink tint and heart-shaped cuts for a themed presentation.
Meal Prep Tips
To streamline, bake a pan on a Sunday and slice into portions for weekday snacks. Store slices in individual airtight containers or wrap in parchment and foil for grab-and-go treats. If freezing, label the box with the date and use within two months. When reheating, microwave a single bar for 8–10 seconds to soften slightly, or let it come to room temperature for a softer texture without melting the topping.
These Pink Coconut Snowball Cake Bars are a simple way to make everyday moments feel special — they travel well, are easy to adapt, and always bring a smile. Try them once and I bet they’ll become part of your own rotation, whether for kids’ parties or quiet afternoon tea.
Pro Tips
Cool the cake completely in the pan before adding the topping to prevent the powdered sugar from melting.
If your topping is too runny, add more shredded coconut or powdered sugar a tablespoon at a time until it thickens.
Use a sharp knife wiped between cuts for clean, attractive bars.
This nourishing pink coconut snowball cake bars recipe is sure to be a staple in your kitchen. Enjoy every moist, high protein slice — it is perfect for breakfast or as a wholesome snack any time.
Tags
Pink Coconut Snowball Cake Bars
This Pink Coconut Snowball Cake Bars recipe makes perfectly juicy, tender, and flavorful steak every time! Serve with potatoes and a side salad for an unforgettable dinner in under 30 minutes.
Ingredients
Cake
Coconut Topping
Instructions
Prepare the oven and pan
Preheat oven to 350°F (175°C). Grease an 8x8-inch pan and line with parchment for easy removal.
Mix dry ingredients
Whisk together flour, sugar, cocoa powder, baking powder, and salt until evenly combined and free of lumps.
Combine wet ingredients
Whisk melted butter with eggs and vanilla until smooth; ensure butter is slightly cooled to avoid cooking the eggs.
Bring batter together
Fold wet into dry until just combined; avoid over-mixing to keep the crumb tender.
Bake
Spread batter in the prepared pan and bake 20–25 minutes, until a toothpick shows a few moist crumbs but no raw batter.
Cool and top
Cool completely in the pan. Mix shredded coconut with powdered sugar and milk to spreadable consistency, tint if desired, then spread over cooled cake and chill before slicing.
Last Step: Please leave a rating and comment letting us know how you liked this recipe! This helps our business to thrive and continue providing free, high-quality recipes for you.
Nutrition
Did You Make This?
Leave a comment & rating below or tag
@mrsrecipe on social media!
Categories:
You might also like...

Best Chicken Fried Steak
A crispy, tender chicken fried steak with a rich sausage cream gravy — classic comfort food perfect for family dinners and weekend indulgence.

Fluffy Japanese Soufflé Pancakes
Tall, cloudlike pancakes with a delicate eggy interior and golden exterior, perfect for a celebratory breakfast or a relaxed weekend treat.

Creamy Chicken Stuffed Peppers
Bell peppers filled with a rich, creamy chicken and cheese mixture—simple to assemble, family-friendly, and perfect for weeknight dinners or make-ahead meals.
Did You Make This?
Leave a comment & rating below or tag @mrsrecipe on social media!
Rate This Recipe
Share This Recipe
Enjoyed this recipe? Share it with friends and family, and don't forget to leave a review!
Comments (1)
This recipe looks amazing! Can't wait to try it.
Comments are stored locally in your browser. Server comments are displayed alongside your local comments.
Hi, I'm Clara!
What's Popular

Get My 30-Minute Meals email series!
Quick and easy dinner ideas delivered to your inbox.