
Salted Maple Pecan Pie Bars

Buttery shortbread topped with a gooey maple-pecan filling and a sprinkle of flaky sea salt — the perfect balance of sweet and savory in portable bar form.
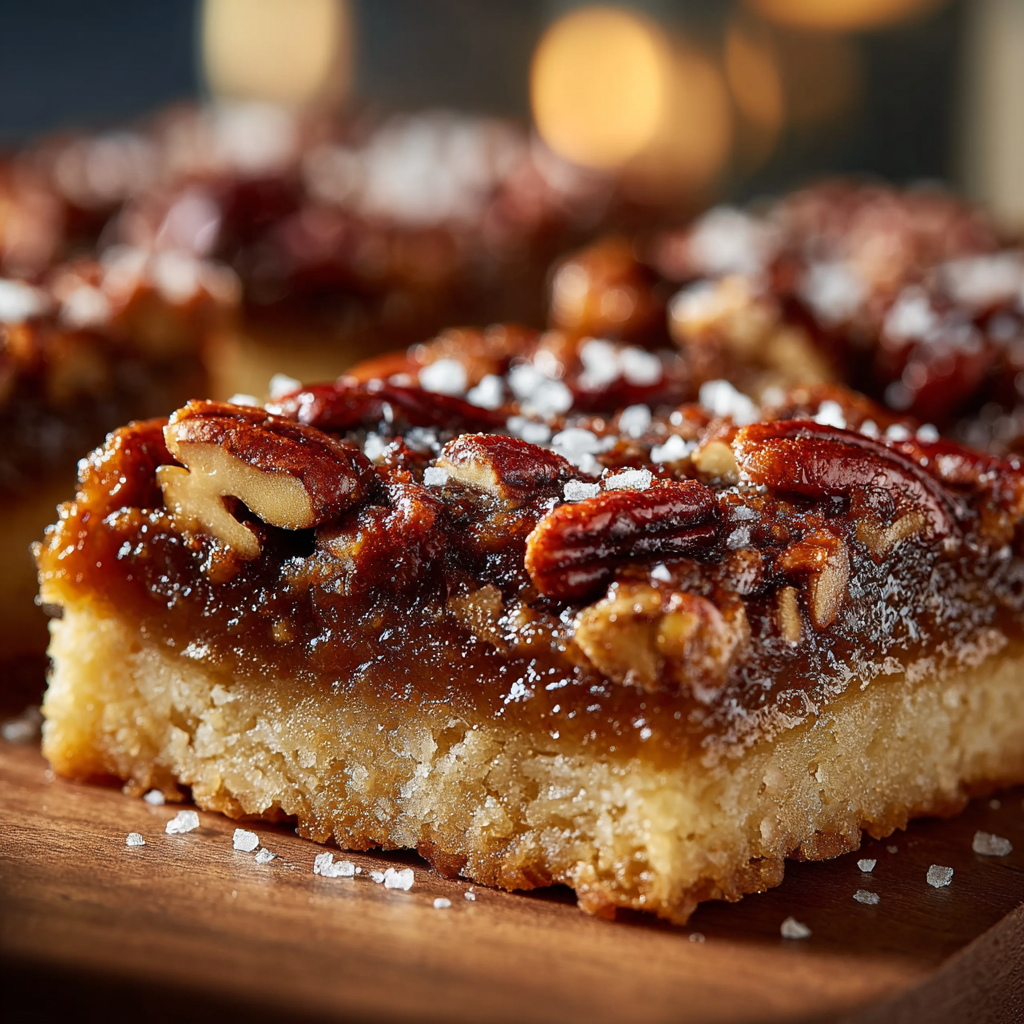
This Salted Maple Pecan Pie Bars recipe has been my go-to when I want something that tastes like classic pecan pie but feels more casual and portable. I first put this together on a rainy autumn weekend when I had a jar of pure maple syrup and a bag of pecans to use up. The combination of a rich, buttery shortbread crust and a deeply flavored maple-egg filling produced that familiar pie warmth, but the texture — slightly chewy filling with crunchy pecan pieces and a crisp edge — made everyone reach for a second square.
I remember bringing a pan to a neighborhood potluck and watching it disappear faster than my lasagna. What makes this variation special is the finishing touch: a light dusting of flaky sea salt right before serving. That small, deliberate contrast lifts the sweetness and rounds the flavors in a way that feels sophisticated but utterly homey. These bars travel well, slice cleanly once chilled, and work for holiday platters or weekday coffee breaks. They’re forgiving, which means even if you’re new to baking, you can expect beautiful results.
Why You'll Love This Recipe
- Goes from pantry staples to finished dessert in under an hour of active time — great when you want something impressive without hours in the kitchen.
- Uses a simple shortbread-style crust that bakes ahead, so you can prepare the filling quickly and finish the bars in one bake.
- Pure maple syrup gives deep, complex sweetness that pairs naturally with toasted pecans for an authentic pie-like flavor without a pie dish.
- Make-ahead friendly: chill, slice, and store in an airtight container for snacks during the week or for holiday trays.
- Salty finish adds a gourmet touch that balances the rich sugars and butter — a small sprinkle makes a big difference.
- Adaptable: swap nuts, use a gluten-free flour blend, or turn it into a vegan treat with plant-based butter and egg replacer.
I’ve found that when I bring these to family gatherings, people don’t even ask what’s in them — they just ask for more. My niece declared them “maple magic,” and my neighbor asked for the secret (which is nothing more than high-quality syrup and flaky salt). They’re a reliable crowd-pleaser with a few professional touches that anyone can master.
Ingredients
- All-purpose flour (2 cups): Provides structure for the crust and helps the filling set. Use a well-sifted or spooned-and-leveled cup for accurate measurement; King Arthur or Bob's Red Mill work well.
- Unsalted butter (1 cup / 2 sticks), softened: Use real butter for the best flavor and flakiness in the crust. Keep it at cool room temperature so it creams easily but doesn’t melt.
- Brown sugar (1/2 cup + 1/2 cup): Light brown sugar for both crust and filling adds moisture and a gentle molasses note — measure and pack slightly for the filling, loosely for the crust.
- Salt (1/2 teaspoon + flaky sea salt to finish): The small amount in the crust balances sweetness; the flaky sea salt topping lifts the maple and pecan flavors at the end.
- Eggs (3 large): Bind the filling and give it a tender, custard-like texture. Use room temperature eggs for a smoother, more even filling.
- Pure maple syrup (3/4 cup): Choose a Grade A amber or dark for robust flavor. Avoid imitation pancake syrups — they won’t give the same depth.
- All-purpose flour for filling (2 tbsp): A small amount stabilizes the filling so it slices neatly without being gummy.
- Vanilla extract (2 teaspoons): Adds warmth and rounds out the maple; use pure vanilla for best aromatic quality.
- Pecans (2 cups, chopped): Toast them lightly before adding for extra crunch and toasty aroma; halves or pieces both work depending on how rustic you like the texture.
Instructions
Prepare the Pan and Preheat: Preheat the oven to 350°F. Line a 9×13-inch baking pan tightly with parchment paper, leaving an overhang to lift the bars later. The parchment ensures clean edges and easier removal. Make the Crust: In a bowl, combine 2 cups of all-purpose flour, 1/2 cup of brown sugar, and 1/2 teaspoon of salt. Add 1 cup (2 sticks) softened unsalted butter and work with a pastry cutter or your fingers until the mixture holds together in large crumbs. Press firmly and evenly into the bottom of the prepared pan, aiming for about 1/4–1/3 inch thickness. Bake for 15–18 minutes or until the edges are just turning golden; remove and leave the oven on. Prepare the Filling: While the crust bakes, whisk together 3 large eggs until smooth. Add 3/4 cup pure maple syrup, 1/2 cup brown sugar, 2 tablespoons flour, and 2 teaspoons vanilla extract. Whisk until the mixture is homogenous and slightly glossy; this helps prevent graininess in the filling and gives a consistent set. Add Pecans: Stir 2 cups chopped pecans into the filling mixture until evenly distributed. For extra texture, reserve a few tablespoons to sprinkle on top before baking. Assemble and Bake: Pour the filling over the hot crust so it begins to set at the edges. Return to the oven and bake for 30–35 minutes. The center should be set but still slightly wobbly — it will firm as it cools. If the top browns too quickly, tent loosely with foil after 25 minutes. Cool and Finish: Allow the bars to cool completely on a wire rack (at least 2 hours) so the filling can fully set. Once cool, sprinkle with flaky sea salt to taste. Use the parchment overhang to lift the slab from the pan and transfer to a cutting board; slice into squares with a sharp knife, wiping between cuts for clean edges.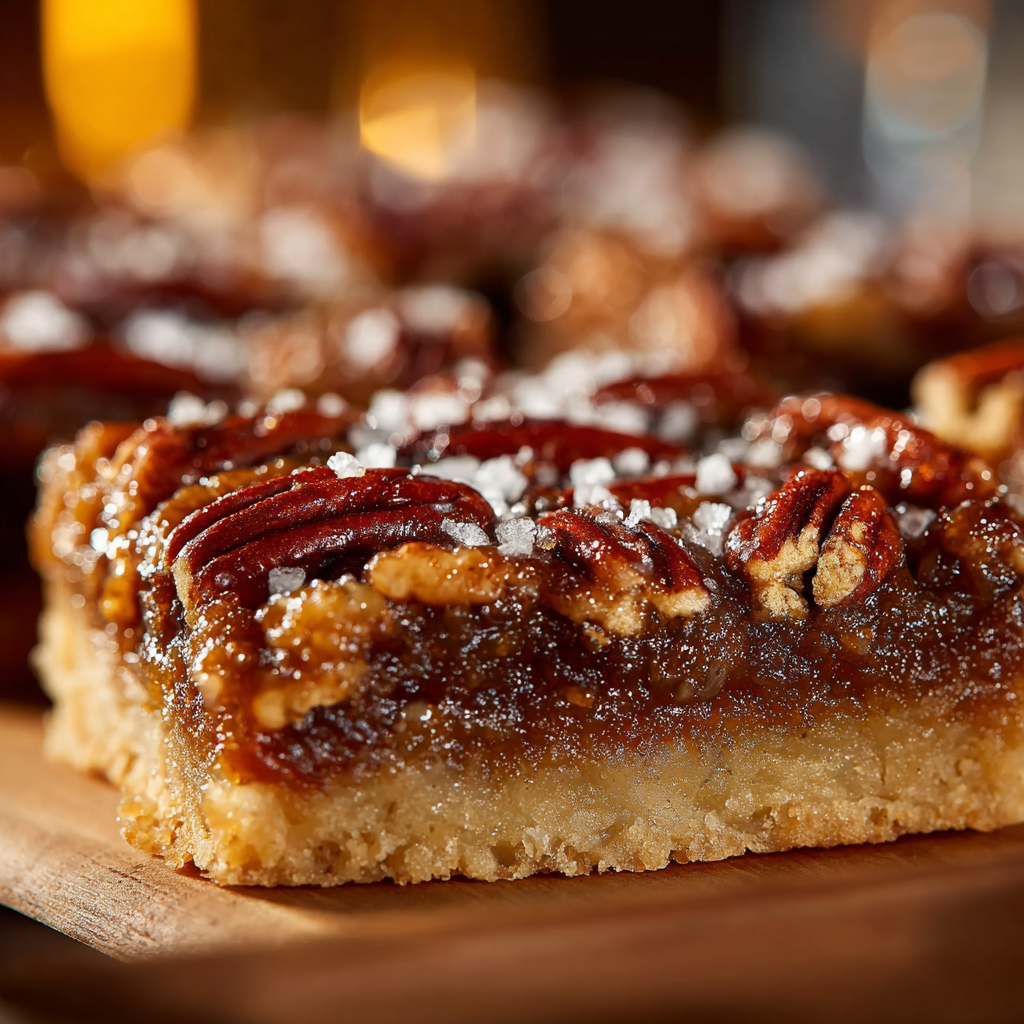
You Must Know
- These bars store well in an airtight container at room temperature for 2 days and refrigerate up to 5 days.
- They freeze beautifully for up to 3 months; wrap tightly and thaw in the refrigerator before slicing.
- Because pecans are high in oil, toasting them first brings out their flavor and reduces the chance the filling becomes too greasy.
- The finishing flaky sea salt is optional but highly recommended — it cuts the sweetness and deepens the maple notes.
- Make sure to cool completely before slicing to avoid a runny center; patience yields clean, attractive bars.
My favorite aspect is how approachable this is: the technique is simple, yet the result reads as special. I’ve handed these out at school events and holiday gatherings, and the reaction is always the same — appreciative silence followed by requests for the recipe. They feel homemade and a little bit elegant at the same time.
Storage Tips
Store cooled bars in a single layer in an airtight container. If stacking, place parchment between layers to prevent sticking. At room temperature they keep for about 48 hours; after that refrigerate for up to 5 days to maintain texture. For longer storage, freeze wrapped bars (individually or whole slab) in plastic wrap and a freezer bag for up to 3 months. To serve from frozen, thaw in the refrigerator overnight and bring to room temperature before sprinkling flaky salt and slicing. Reheat gently for a warmed, gooier filling — 10–12 minutes at 300°F works well for slices on a baking sheet.
Ingredient Substitutions
If you need a gluten-free option, swap the all-purpose flour for a 1:1 gluten-free baking blend and increase the filling flour by a teaspoon to help it set. For dairy-free, use a high-quality vegan butter stick measured cup-for-cup; the texture will be slightly different but still rich. To make these nut-free, replace pecans with toasted sunflower seeds and increase syrup to 1 cup for comparable chewiness. For a deeper caramel flavor, substitute half the maple syrup with light corn syrup or brown rice syrup, though pure maple adds the best aromatic complexity.
Serving Suggestions
Serve bars on a dessert platter at room temperature with a small bowl of extra flaky salt for guests who want a little more contrast. They pair beautifully with strong coffee or a black tea and make a lovely accompaniment to vanilla ice cream for a plated dessert. Garnish with a few toasted pecan halves for presentation, or drizzle a bit of warmed maple syrup for an indulgent touch. For a brunch twist, offer alongside Greek yogurt and seasonal fruit.

Cultural Background
Pecan pie is a deeply American tradition, particularly in the Southern United States where pecan trees are indigenous and maple trees are abundant in northern regions. This hybrid — combining maple syrup with the classic pecan filling and forming it into bars — leans into both regional flavors. Maple’s New England roots and pecan’s Southern heritage meet in a crowd-pleasing crossover that reflects how American baking often blends local staples into portable, shareable forms.
Seasonal Adaptations
For autumn and winter, toast the pecans with a pinch of cinnamon and nutmeg to echo seasonal spices. Spring and summer versions can incorporate chopped dried apricots or cherries into the filling for brightness. For the holidays, press a thin layer of graham cracker crumbs into the crust or top with crystallized ginger for contrast. Adjust syrup intensity by using darker Grade A maple for richer flavor at colder times of year.
Meal Prep Tips
These bars are ideal for make-ahead planning. Bake the crust and filling a day ahead, cool completely, then refrigerate. On the day you serve, slice and bring to room temperature or warm briefly. If assembling for multiple events, freeze slabs individually wrapped; thaw and slice as needed. Use the parchment overhang to transfer the whole slab easily without disturbing edges, and keep a bench scraper or very sharp chef’s knife on hand for straight, even cuts.
These Maple Pecan Pie Bars are a small, elegant way to celebrate seasonal flavors without complicated techniques. Share them warm or cool, and don’t forget that last sprinkle of flaky salt — it’s the tiny step that elevates everything.
Pro Tips
Toast pecans for 6–8 minutes at 350°F to enhance flavor and reduce oiliness.
Use room-temperature eggs to help the filling emulsify and set evenly.
Let the bars cool completely before slicing; chilling for 1–2 hours yields neater squares.
Reserve a few pecan pieces to scatter on top before baking for a decorative finish.
When measuring flour, spoon and level for accurate volume — don’t scoop directly from the bag.
This nourishing salted maple pecan pie bars recipe is sure to be a staple in your kitchen. Enjoy every moist, high protein slice — it is perfect for breakfast or as a wholesome snack any time.
FAQs about Recipes
How can I tell when the bars are done?
Yes — bake until the center is set but slightly wobbly; it will firm as it cools. If the top browns too fast, tent with foil.
What's the best way to slice these bars cleanly?
Cool completely, lift using the parchment overhang, and slice with a sharp knife. Chill briefly for cleaner cuts.
Tags
Salted Maple Pecan Pie Bars
This Salted Maple Pecan Pie Bars recipe makes perfectly juicy, tender, and flavorful steak every time! Serve with potatoes and a side salad for an unforgettable dinner in under 30 minutes.
Ingredients
Crust
Filling
Finishing
Instructions
Preheat and prepare pan
Preheat oven to 350°F. Line a 9×13-inch pan with parchment paper leaving an overhang to lift the bars later.
Make crust
Mix 2 cups flour, 1/2 cup brown sugar, and 1/2 tsp salt. Cut in 1 cup softened butter until the mixture clumps. Press evenly into the pan and bake for 15–18 minutes until edges are light golden.
Whisk filling
Whisk 3 eggs, 3/4 cup maple syrup, 1/2 cup brown sugar, 2 tbsp flour, and 2 tsp vanilla until smooth and glossy to ensure even setting.
Add pecans
Stir 2 cups chopped pecans into the filling mixture until evenly distributed. Reserve a few pieces for top if desired.
Assemble and bake
Pour filling over hot crust and bake at 350°F for 30–35 minutes. The center should be set but slightly wobbly; tent with foil if the top browns too quickly.
Cool, salt, and slice
Cool completely (about 2 hours), sprinkle with flaky sea salt, lift out using parchment, and cut into approximately 12 squares with a sharp knife.
Last Step: Please leave a rating and comment letting us know how you liked this recipe! This helps our business to thrive and continue providing free, high-quality recipes for you.
Nutrition
Did You Make This?
Leave a comment & rating below or tag
@mrsrecipe on social media!
Categories:
You might also like...

Best Chicken Fried Steak
A crispy, tender chicken fried steak with a rich sausage cream gravy — classic comfort food perfect for family dinners and weekend indulgence.

Fluffy Japanese Soufflé Pancakes
Tall, cloudlike pancakes with a delicate eggy interior and golden exterior, perfect for a celebratory breakfast or a relaxed weekend treat.

Creamy Chicken Stuffed Peppers
Bell peppers filled with a rich, creamy chicken and cheese mixture—simple to assemble, family-friendly, and perfect for weeknight dinners or make-ahead meals.
Did You Make This?
Leave a comment & rating below or tag @mrsrecipe on social media!
Rate This Recipe
Share This Recipe
Enjoyed this recipe? Share it with friends and family, and don't forget to leave a review!
Comments (1)
This recipe looks amazing! Can't wait to try it.
Comments are stored locally in your browser. Server comments are displayed alongside your local comments.
Hi, I'm Clara!
What's Popular

Get My 30-Minute Meals email series!
Quick and easy dinner ideas delivered to your inbox.