>>
30-MINUTE MEALS! Get the email series now →


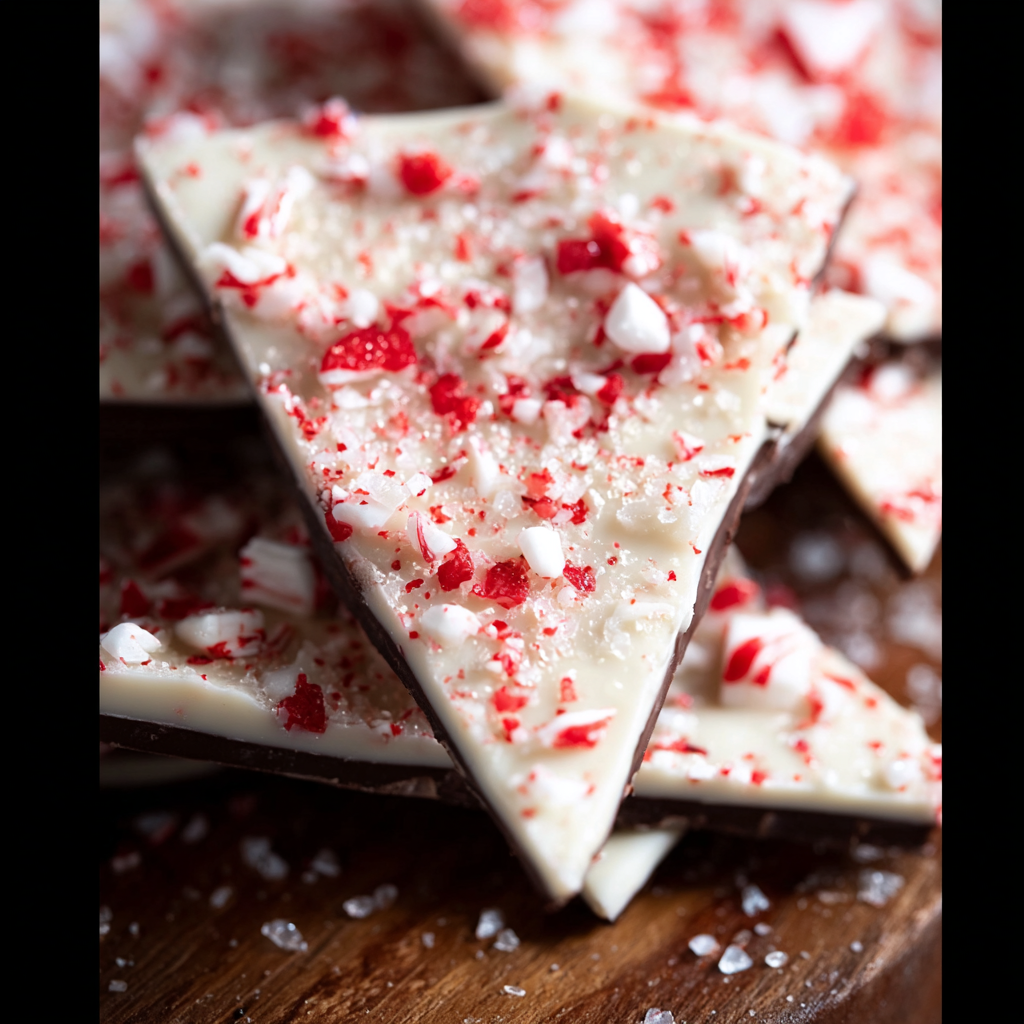
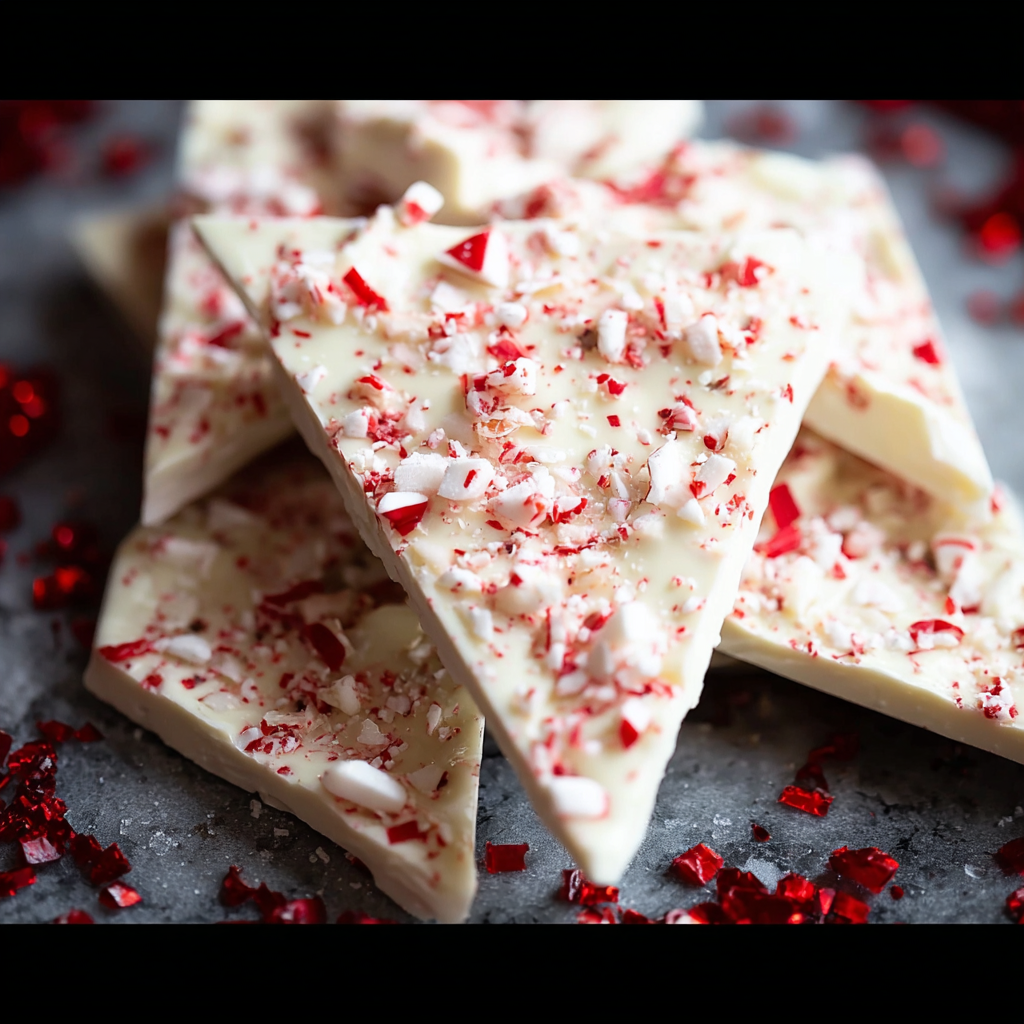
A festive layered bark of milk chocolate and white almond bark, brightened with peppermint and a sprinkle of sea salt—easy to make and perfect for gifting.

This Salted Peppermint Bark has been my holiday go-to ever since I first made it for a neighborhood cookie swap. It started as a simple experiment: melted chocolate and a candy cane I crushed with the back of a wooden spoon. What came out of the oven-less process surprised me—the crunch of the peppermint, the silky snap of the chocolate, and the hint of sea salt created an irresistible contrast. Over the years I refined the proportions, switched to light cocoa candy melts when I wanted a milder chocolate, and discovered that a tiny dash of oil-based peppermint extract makes the aroma pop without seizing the chocolate.
I usually make a double batch for family parties and gift tins. The texture is a lesson in contrasts: a smooth chocolate base that sets firm, a creamy white layer that gives a cool mint lift, and crunchy peppermint shards that add both flavor and festive color. This particular version uses almond-style white bark for easy melting and a glossy finish; if you prefer a darker flavor profile, semisweet chips work beautifully too. Every year my kids help press the crushed candy on top, and seeing their faces when they taste that first bite is the real reason I keep making it.
The first time I brought this to a holiday gathering, a neighbor asked for the recipe three times in one night. Over the years I learned that slightly under-setting the first chocolate layer before adding white chocolate prevents separation and keeps the layers bonded. Family reactions always include an audible delighted gasp when someone bites into a piece and gets both salt and peppermint at once—simple pleasures that never get old.
My favorite thing is the tiny ritual of pressing shards into warm white chocolate while the kids watch like it's magic. Once, a batch accidentally sat near the oven and warmed just enough to make the white layer glossy and extra silky—the lesson was that slight warmth helps create a satin finish but too hot will make the layers separate. These little experiments teach you the feel of melting chocolate, and the results are always worth it.
Store finished pieces in a single layer separated by parchment in an airtight container. At room temperature, keep the container away from heat sources and direct sunlight to prevent blooming; the bark will stay fresh for up to two weeks. For longer storage, freeze in a freezer-safe container for up to three months; thaw in the refrigerator before bringing to room temperature to avoid condensation forming on the surface. When shipping as gifts, include a small cold pack and wrap pieces well to minimize movement and breakage.
If you do not have light cocoa melts, use semisweet or milk chocolate chips—24 ounces is roughly three standard bags of chips. White almond bark can be swapped for white chocolate chips or candy melts, though white chocolate chips may need an added teaspoon of neutral oil to smooth the texture. If you avoid almond-flavored products, choose a pure white chocolate that is nut-free. For a more intense mint, use 1/2 teaspoon peppermint oil and 1/2 teaspoon peppermint extract to balance aromatic intensity without overheating the chocolate.
Serve on a festive platter lined with wax paper or fold pieces into clear cellophane bags tied with ribbon for charming gifts. Pair with hot cocoa or coffee for a cozy after-dinner treat, or place small shards in bowls for party grazing. For an elegant display, arrange larger pieces on a slate board and sprinkle additional crushed peppermint and a few whole candy canes as garnish. The salt pairs well with bitter espresso and also balances overly sweet white chocolate for adult palates.
Peppermint bark as we know it became popular in North America in the late 20th century as confectioners began layering chocolate with crushed peppermint for holiday markets. It is closely tied to holiday candy-making traditions where simple, no-bake treats are preferable for quick production and gifting. The concept borrows from classic European bark confections but evolved into its current peppermint-sprinkled form in American seasonal baking culture, often sold in specialty shops and widely recreated at home.
Beyond the classic red-and-white holiday look, adapt the recipe seasonally: add toasted pistachios and green-tinted white chocolate for a spring twist, or swirl in a little orange oil and chopped candied ginger for autumn festivals. For Halloween, use dark chocolate with orange candy pieces. Swap peppermint for crushed freeze-dried strawberries in summer to create a bright pink version. Each swap keeps the same method but gives the bark a distinct seasonal personality.
Prepare components in advance: melt and temper the dark layer and keep it warm in a thermos or slow cooker on low if you are making large batches. Store crushed peppermint in airtight jars for quick assembly. If planning to package gifts, portion pieces into small tins ahead of time and label with suggested storage and use-by dates. Setting the bark in a shallow tray with edges the exact size of your gift boxes minimizes trimming and waste for efficient assembly.
In the end, this Salted Peppermint Bark is about simple techniques yielding beautiful results: smooth melting, timely assembly, and a light hand with salt. Make a batch, share it, and tweak the elements until you find your perfect balance of sweet, mint, and salt.
Use oil-based peppermint extract rather than water-based to prevent chocolate from seizing.
Partially set the first chocolate layer before adding the white layer to prevent separation.
Crush peppermint to a mix of shard sizes for visual appeal and varied crunch.
Warm the white layer just enough to pour; overheating will make it grainy.
Store in single layers separated by parchment to prevent sticking and preserve texture.
This nourishing salted peppermint bark recipe is sure to be a staple in your kitchen. Enjoy every moist, high protein slice — it is perfect for breakfast or as a wholesome snack any time.
Yes. Store in an airtight container at room temperature for up to two weeks or freeze up to three months.
Use oil-based peppermint extract to avoid seizing. Heat in short intervals and stir frequently if using a microwave.
This Salted Peppermint Bark recipe makes perfectly juicy, tender, and flavorful steak every time! Serve with potatoes and a side salad for an unforgettable dinner in under 30 minutes.
Line a rimmed cookie sheet with parchment or wax paper and smooth out any wrinkles so chocolate spreads evenly.
Melt 24 ounces of light cocoa candy melts in a double boiler or microwave in short bursts, stirring until smooth and glossy.
Pour and spread the melted chocolate to an even layer about 1/8 to 1/4 inch thick; let it partially set until tacky but not hard.
Melt 20 ounces white almond bark and stir in 1 teaspoon oil-based peppermint extract; keep it warm and pourable.
Pour the white layer over the partially set base, spread evenly, press crushed peppermint into the surface, and sprinkle sea salt flakes.
Allow the bark to set at room temperature for 20 to 30 minutes or chill for 10 to 15 minutes, then lift from parchment and break into pieces.
Last Step: Please leave a rating and comment letting us know how you liked this recipe! This helps our business to thrive and continue providing free, high-quality recipes for you.
Leave a comment & rating below or tag
@mrsrecipe on social media!

A crispy, tender chicken fried steak with a rich sausage cream gravy — classic comfort food perfect for family dinners and weekend indulgence.

Tall, cloudlike pancakes with a delicate eggy interior and golden exterior, perfect for a celebratory breakfast or a relaxed weekend treat.

Bell peppers filled with a rich, creamy chicken and cheese mixture—simple to assemble, family-friendly, and perfect for weeknight dinners or make-ahead meals.
Leave a comment & rating below or tag @mrsrecipe on social media!
Enjoyed this recipe? Share it with friends and family, and don't forget to leave a review!
This recipe looks amazing! Can't wait to try it.
Comments are stored locally in your browser. Server comments are displayed alongside your local comments.
Quick and easy dinner ideas delivered to your inbox.
