>>
30-MINUTE MEALS! Get the email series now →


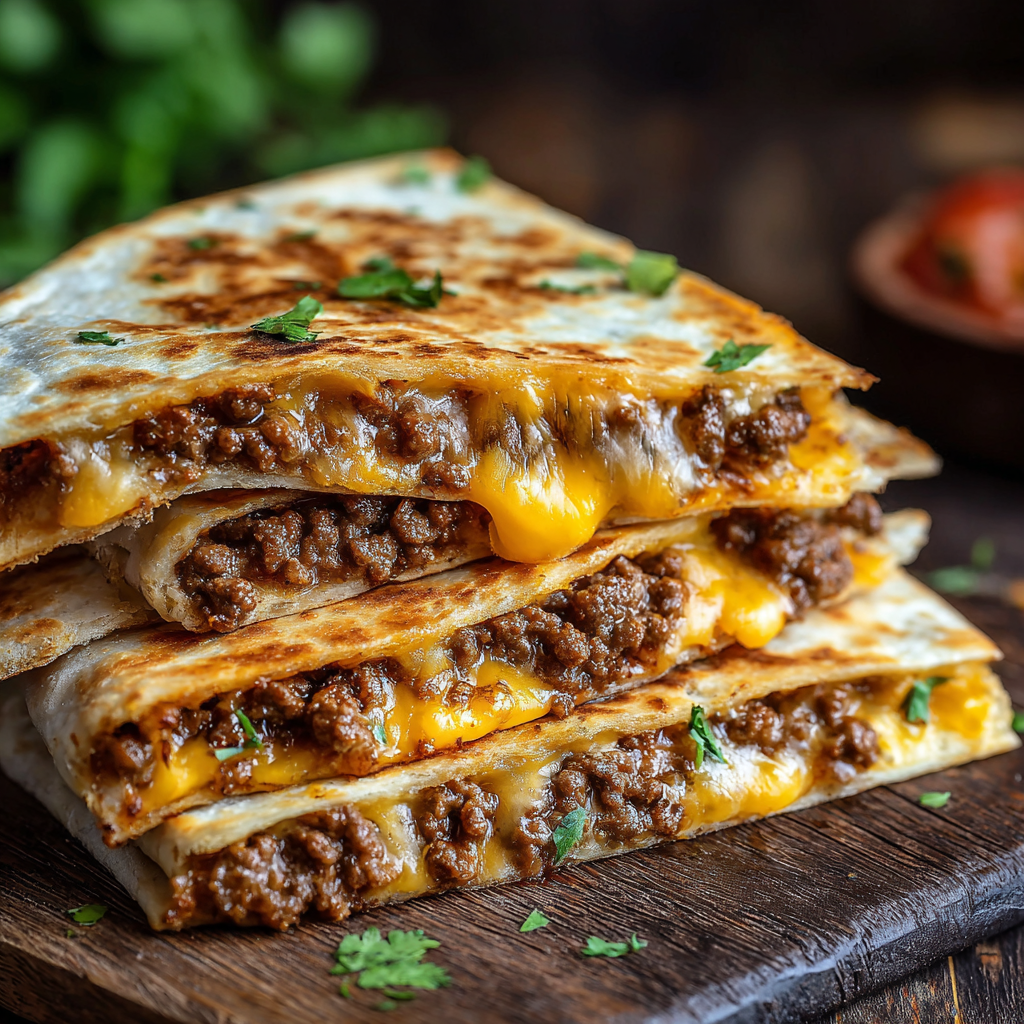
A playful mash-up of diner-style smashed burger and a crispy, cheesy quesadilla—quick, crowd-pleasing, and perfect for weeknight dinners or brunch.

This smashburger quesadilla became my late-night kitchen rescue on a busy weekend when I wanted a burger but didn’t want to fire up a grill or wait for delivery. I first mashed the beef down on a hot griddle to get that caramelized crust we all crave, then folded it into a flour tortilla with melty cheese—the result was unexpectedly delightful. The exterior crisps and the interior stays juicy and cheesy, so every bite delivers contrast: crackly, savoury, and soft. It’s a hybrid that satisfies burger cravings with the convenience of a handheld.
I discovered this method while riffing on a diner technique; pressing beef directly onto a hot surface gives you a deep, beefy crust in minutes. What makes these special is how quickly they come together and how forgiving the technique is—kids love the cheesy pockets, guests appreciate the familiar burger flavors, and you get the satisfaction of a seared crust without fuss. I’ve served these at casual game nights and Sunday brunches; they vanish every time.
I’ve found this approach reduces cleanup and speeds service—no buns to toast, no plates full of crumbs, just tidy wedges that travel well. Family members who usually ask for fries ended up asking for second quesadillas; the familiar burger flavors make it accessible to picky eaters while still feeling playful for adventurous adults.
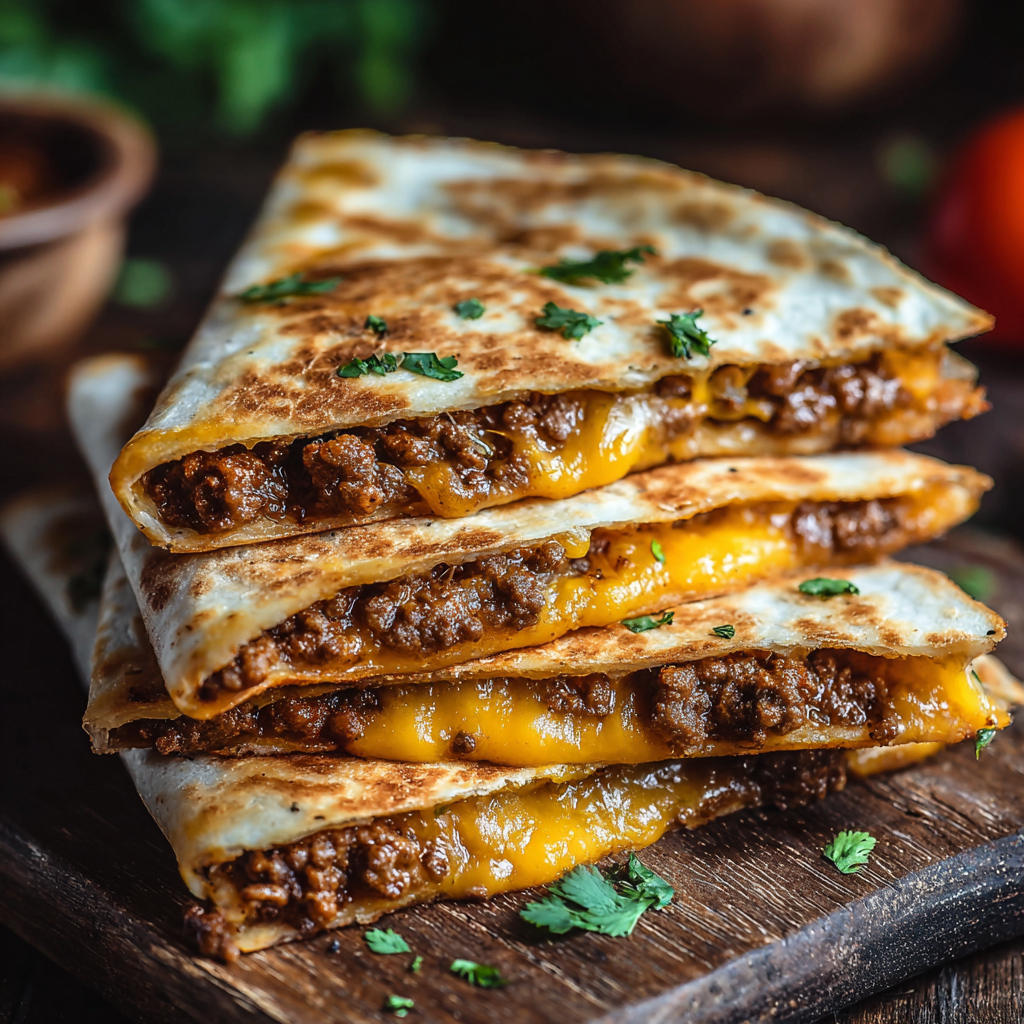
My favorite part is the crunchy, caramelized rim where the meat meets the tortilla—small details like hot temperature and thin patty make a big difference. I’ve learned to prep toppings in advance and keep a bowl of extra shredded cheese nearby to refresh any quesadillas that sit too long before serving.
To keep slices tasting their best, cool them to room temperature then place in an airtight container and refrigerate for up to 3 days. For longer storage, flash-freeze individual folded tortillas on a tray for 1 hour and then transfer to a freezer bag—they’ll keep for up to 2 months. Reheat refrigerated slices in a nonstick skillet over medium heat for 3–4 minutes per side, pressing gently to re-crisp; avoid microwaving if you want the exterior to stay crisp. For frozen items, bake at 375°F for 12–18 minutes or cook on a griddle from frozen, adding a couple minutes per side until heated through.
If you want a lighter option, use 90/10 ground beef or swap half of the beef for turkey—note that leaner meats will produce a less pronounced crust and may benefit from a teaspoon of oil on the griddle. For a gluten-free version, use certified gluten-free tortillas or corn tortillas (though corn will be more fragile). Swap cheddar for pepper jack or Monterey Jack for a mild melt with a little kick, or use plant-based ground meat and vegan cheese for a vegetarian adaptation—expect slightly different textures and melting behavior from non-dairy cheeses.
Serve wedges on a platter with small bowls of burger sauce, ketchup, and mustard for dipping. Add a side of seasoned fries or a simple slaw to brighten the plate—acidic slaw cuts through the richness beautifully. Garnish with thinly sliced dill pickles or quick-pickled red onions to echo classic burger toppings. For brunch, serve with a fried egg on top of each wedge for a decadent finish; for a party, place wedges on skewers for easy grab-and-go service.
This hybrid borrows from two American favorites: the smashed patty technique popularized in diners and the portable convenience of tortillas. Smashburger-style cooking focuses on maximizing surface contact and Maillard browning to intensify flavor quickly. Folding that seared meat into a tortilla is a natural extension—both traditions value immediacy and bold taste. The mash-up is modern comfort food, reflecting how home cooks blend techniques to suit fast-paced lifestyles.
In summer, top slices with quick-pickled summer vegetables like cucumbers and thinly sliced tomatoes for freshness. In colder months, add caramelized onions and a smear of spiced mayo to add warming depth. Holiday gatherings invite substitutions like smoked cheese or a drizzle of barbecue sauce to make the wedges feel festive. The method scales easily, so you can increase quantities and keep finished pieces warm in a low oven during holidays or tailgates.
For make-ahead convenience, pre-portion the beef into four balls and shred cheese into a container. If you want to assemble ahead, layer tortillas with separated parchment between each assembled, uncooked quesadilla and freeze flat; cook directly from frozen, adding a minute or two per side. Pack wedges in insulated containers for lunches—include small sauce cups to preserve crispness and keep pickles separate until serving.
These smashburger quesadillas are a simple, joyful combination of techniques that deliver big flavor with minimal fuss—try them on a busy night and then experiment with your favorite burger toppings to make them your own.
Heat the skillet or griddle well before cooking to ensure a deep crust forms quickly.
Use 80/20 ground beef for juiciness and the best Maillard browning; add a splash of oil only if using very lean meat.
Freshly shred cheese from a block for a smoother melt compared with pre-shredded blends that often contain anti-caking agents.
This nourishing smashburger quesadillas recipe is sure to be a staple in your kitchen. Enjoy every moist, high protein slice — it is perfect for breakfast or as a wholesome snack any time.
This Smashburger Quesadillas recipe makes perfectly juicy, tender, and flavorful steak every time! Serve with potatoes and a side salad for an unforgettable dinner in under 30 minutes.
Preheat a heavy skillet or griddle over medium-high heat until very hot; add a small amount of oil only if using very lean meat.
Divide the ground beef into four equal portions (about 4 oz each) and loosely form into balls so they spread when pressed.
Place a small handful of beef on one half of each tortilla and season with salt, pepper, and a sprinkle of garlic powder before transferring to the hot surface.
Place the tortilla beef-side down on the hot skillet and press firmly with a spatula to create a thin patty; cook 2–3 minutes until deeply browned.
Flip so the beef faces up, sprinkle with cheese, fold the tortilla over, and cook another 1–2 minutes per side until golden and the cheese is melted.
Transfer to a cutting board, rest 1 minute, slice into wedges and serve with pickles, diced onions, and burger sauce for dipping.
Last Step: Please leave a rating and comment letting us know how you liked this recipe! This helps our business to thrive and continue providing free, high-quality recipes for you.
Leave a comment & rating below or tag
@mrsrecipe on social media!

A crispy, tender chicken fried steak with a rich sausage cream gravy — classic comfort food perfect for family dinners and weekend indulgence.

Tall, cloudlike pancakes with a delicate eggy interior and golden exterior, perfect for a celebratory breakfast or a relaxed weekend treat.

Bell peppers filled with a rich, creamy chicken and cheese mixture—simple to assemble, family-friendly, and perfect for weeknight dinners or make-ahead meals.
Leave a comment & rating below or tag @mrsrecipe on social media!
Enjoyed this recipe? Share it with friends and family, and don't forget to leave a review!
This recipe looks amazing! Can't wait to try it.
Comments are stored locally in your browser. Server comments are displayed alongside your local comments.
Quick and easy dinner ideas delivered to your inbox.
