>>
30-MINUTE MEALS! Get the email series now →


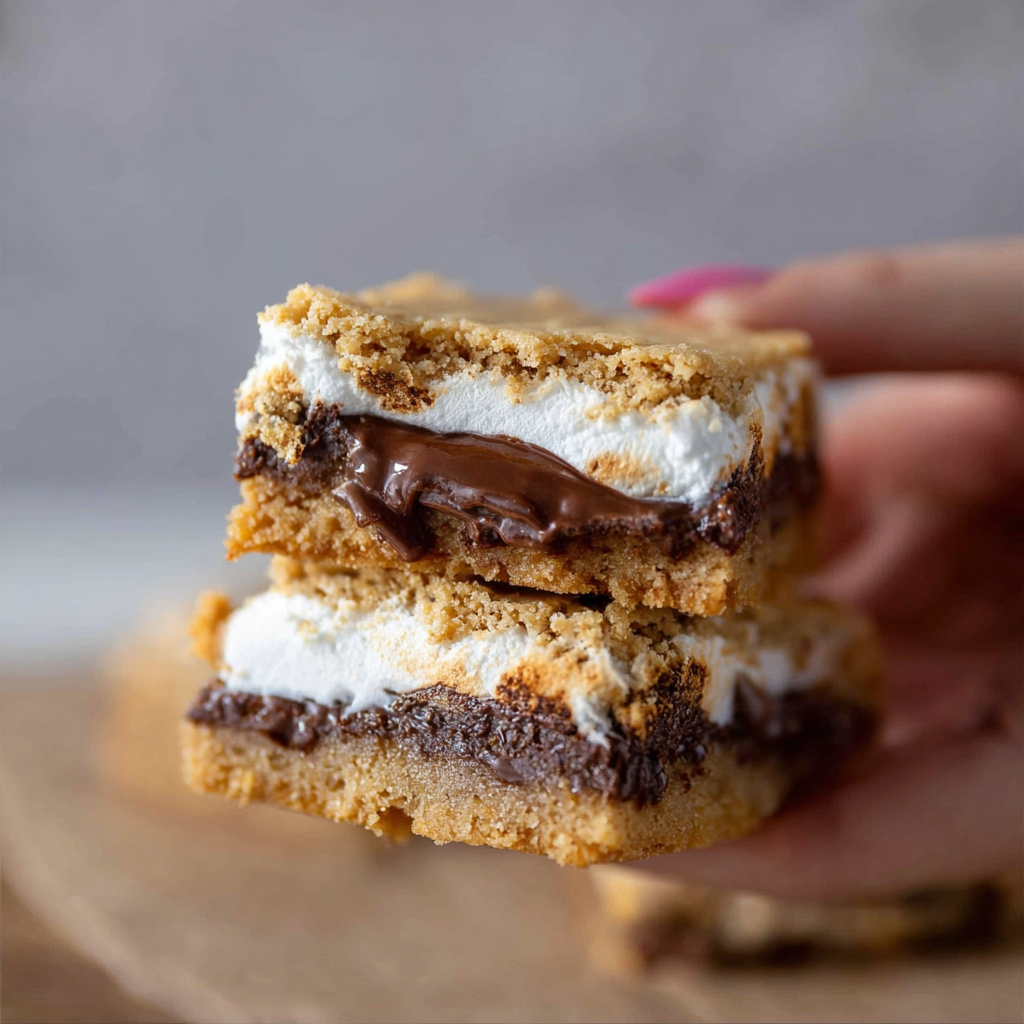
A gooey chocolate and marshmallow sandwich tucked between buttery graham-infused cookie layers — nostalgic s'mores transformed into easy, crowd-pleasing bars.

This recipe for s’mores cookie bars is my go-to when I want something nostalgic, portable, and impossibly gooey. I first landed on this combination one summer while trying to capture campfire s’mores for an indoor treat. The goal was simple: keep the chew of a chocolate cookie, add a layer of Hershey chocolate, fold in pillowy marshmallow, and finish with another layer of cookie dough so every bite gives that classic toasted-sweet bite without needing an open flame. It quickly became a party favorite and an instant hit with my nieces and nephews.
The texture balances are what make these bars special. The cookie dough forms a slightly crisp edge with a tender, buttery center. Hidden inside, the chocolate melts into a glossy ribbon while the marshmallow fluff gives an elastic, spreadable center that stretches just right when you pull a square apart. I love how the graham cracker crumbs in the dough echo the graham flavor without making the dough gritty. These bars travel well, slice cleanly once fully cooled, and deliver the exact same cozy s’mores memory on a picnic blanket or a rainy afternoon on the couch.
In my experience these bars disappear faster than cookies at a bake sale. The first time I brought them to a family barbecue, my aunt asked for the recipe and my brother accused me of smuggling a campfire into the kitchen. They’re one of those dishes that make people nostalgic and immediately ask for seconds.
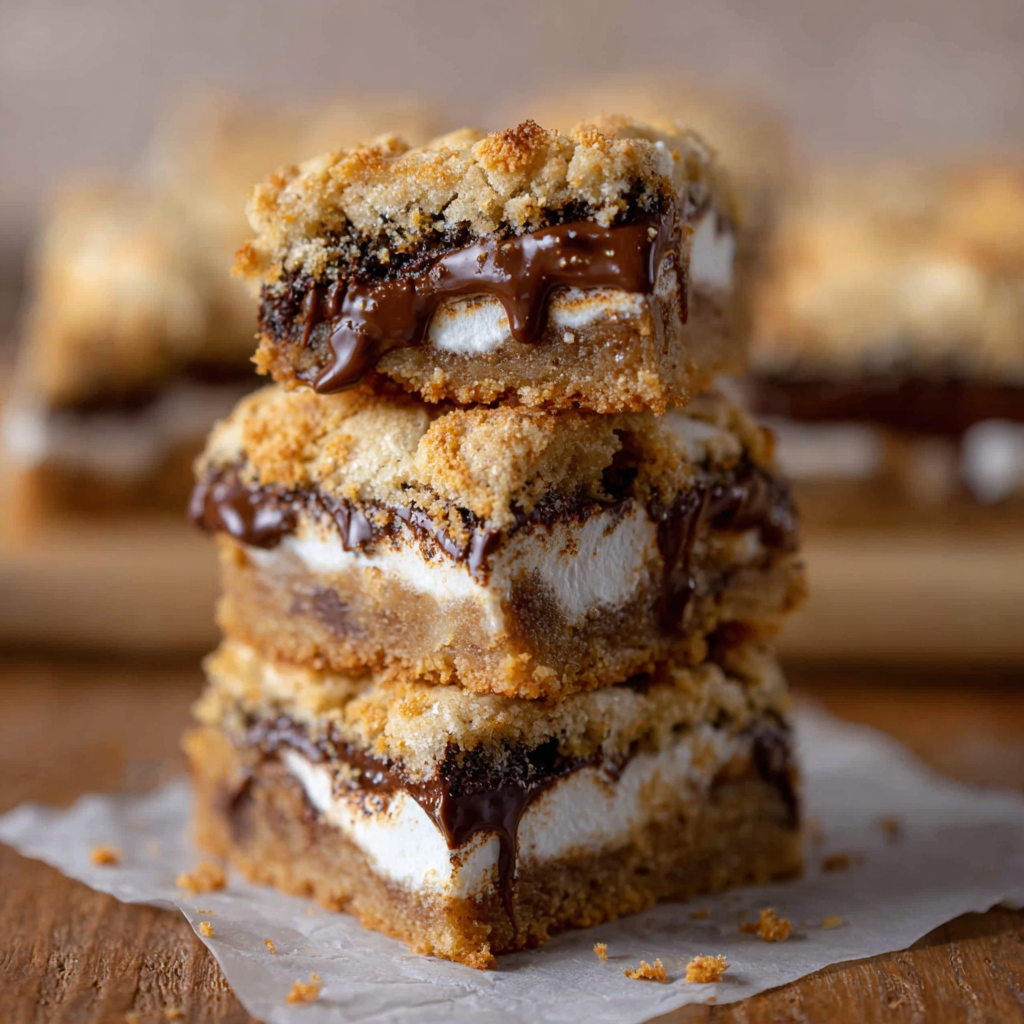
My favorite part is pulling a warm slice and watching the chocolate shine as I lift it. These bars have been at birthday parties, neighborhood potlucks, and quiet movie nights. Every time someone tastes the first bite they close their eyes for a second, and that little pause is why I keep making them.
Store finished bars in an airtight container layered with parchment to prevent sticking. At room temperature they remain tender for two days; after that refrigeration helps keep the marshmallow stable for up to five days. For freezing, cut into squares and place on a baking sheet to flash-freeze for 30 minutes, then transfer to a freezer-safe container with parchment layers. Reheat gently in a 300 degree oven for 8 to 10 minutes to revive the gooey center, or microwave a single square for 10 to 12 seconds for a quick warm treat. When thawing from frozen, bring to room temperature before serving for best texture.
If you prefer a darker chocolate flavor, substitute semi-sweet chocolate bars for the Hershey bars. For a slightly different texture, swap half the all-purpose flour for bread flour to give a chewier bite. If marshmallow fluff is unavailable, spread an even layer of mini marshmallows and toast briefly under the broiler for a few seconds, watching closely so they do not burn. To make these nut-free for school events, ensure your chocolate and fluff are certified nut-free. For a lower-sugar twist, reduce the granulated sugar by two tablespoons and add teaspoon of applesauce to retain moisture, though results will be slightly less crisp at the edges.
Serve squares at room temperature for clean slices or slightly warmed for that oozy marshmallow pull. Garnish with a light sprinkle of crushed graham crackers or a pinch of flaky sea salt to accentuate the chocolate. Pair with cold milk, coffee, or a scoop of vanilla ice cream for an adult-friendly dessert. These bars are perfect for picnic boxes, bake sales, or a cozy dessert shared family-style — present on a rustic wooden board with extra Hershey pieces for a nostalgic look.
The s'more is an American campfire tradition that dates back to early 20th century camp cookbooks. The original name is a contraction of "some more" because no one could stop at just one. Transforming s'mores into a pan cookie is a modern adaptation rooted in the desire to bring campfire nostalgia indoors. This baked version keeps the core elements — graham, chocolate, and marshmallow — while adapting technique for ovens and kitchens that lack an open flame. Variations across regions include using dark chocolate or adding toasted coconut for local flavor influences.
In summer, pack these bars for outdoor gatherings or serve with fresh berries for contrast. In autumn, fold in a teaspoon of ground cinnamon into the dough and use pumpkin spice marshmallow fluff for a fall twist. During winter holidays, add chopped peppermint candy to the chocolate layer for a festive peppermint-s'mores. For spring celebrations, top with thinly sliced strawberries and a light glaze that pairs beautifully with the sticky marshmallow center.
For efficient meal prep, make a double batch and freeze unbaked pans stacked with parchment between them. When ready to bake, place the frozen pan in the preheated oven and add 6 to 8 minutes to the baking time. Alternatively, bake, cool completely, and portion into single servings to freeze; these thaw quickly for an on-demand sweet treat. Use airtight containers and separate layers with parchment to prevent sticking in the freezer.
These bars are a modern comfort food that bring people together. Whether you are recreating a childhood memory or inventing a new one with friends, the simple combination of butter, chocolate, and marshmallow never fails to create smiles. Try them once and you will understand why s'mores endure.
Chill the pressed dough layer briefly in the freezer so it is firm enough to flip without cracking or stretching.
Use parchment overhang to lift the bars from the pan easily once cooled for neat slices.
If marshmallow squeezes out during assembly, wipe excess with a damp finger and proceed to bake.
This nourishing s’mores cookie bars recipe is sure to be a staple in your kitchen. Enjoy every moist, high protein slice — it is perfect for breakfast or as a wholesome snack any time.
Allow the bars to cool completely before slicing; warm marshmallow will not set and will make slices messy.
Yes. Assemble the unbaked bars, wrap tightly, and freeze for up to 1 month. Bake from frozen and add 5 to 8 minutes to the bake time.
This S’mores Cookie Bars recipe makes perfectly juicy, tender, and flavorful steak every time! Serve with potatoes and a side salad for an unforgettable dinner in under 30 minutes.
Preheat oven to 350 degrees Fahrenheit. Line an 8 by 8 inch pan with parchment leaving overhang on two sides to lift the bars after cooling.
Cream 1/2 cup softened butter with 1/4 cup granulated sugar and 1/3 cup packed brown sugar until light and fluffy. Mix in 1 large egg and 1 teaspoon vanilla extract until combined.
Whisk together 1 1/2 cups all-purpose flour, 1/2 cup finely crushed graham crackers, 1/4 teaspoon salt, and 3/4 teaspoon baking soda. Fold into the butter mixture just until the flour is incorporated.
Press half the dough into the lined pan to form the base. Remove with parchment and freeze for 10 minutes. Re-line pan and press the remaining dough into the second liner to form the top layer.
Arrange 5 Hershey bars across the chilled base, spread 1 1/2 cups marshmallow fluff over the chocolate, then gently flip the chilled top dough onto the marshmallow layer.
Bake at 350 degrees Fahrenheit for 25 minutes until edges are golden and center is set. Cool completely in the pan at least 90 minutes before slicing for best results.
Last Step: Please leave a rating and comment letting us know how you liked this recipe! This helps our business to thrive and continue providing free, high-quality recipes for you.
Leave a comment & rating below or tag
@mrsrecipe on social media!

A crispy, tender chicken fried steak with a rich sausage cream gravy — classic comfort food perfect for family dinners and weekend indulgence.

Tall, cloudlike pancakes with a delicate eggy interior and golden exterior, perfect for a celebratory breakfast or a relaxed weekend treat.

Bell peppers filled with a rich, creamy chicken and cheese mixture—simple to assemble, family-friendly, and perfect for weeknight dinners or make-ahead meals.
Leave a comment & rating below or tag @mrsrecipe on social media!
Enjoyed this recipe? Share it with friends and family, and don't forget to leave a review!
This recipe looks amazing! Can't wait to try it.
Comments are stored locally in your browser. Server comments are displayed alongside your local comments.
Quick and easy dinner ideas delivered to your inbox.
