>>
30-MINUTE MEALS! Get the email series now →


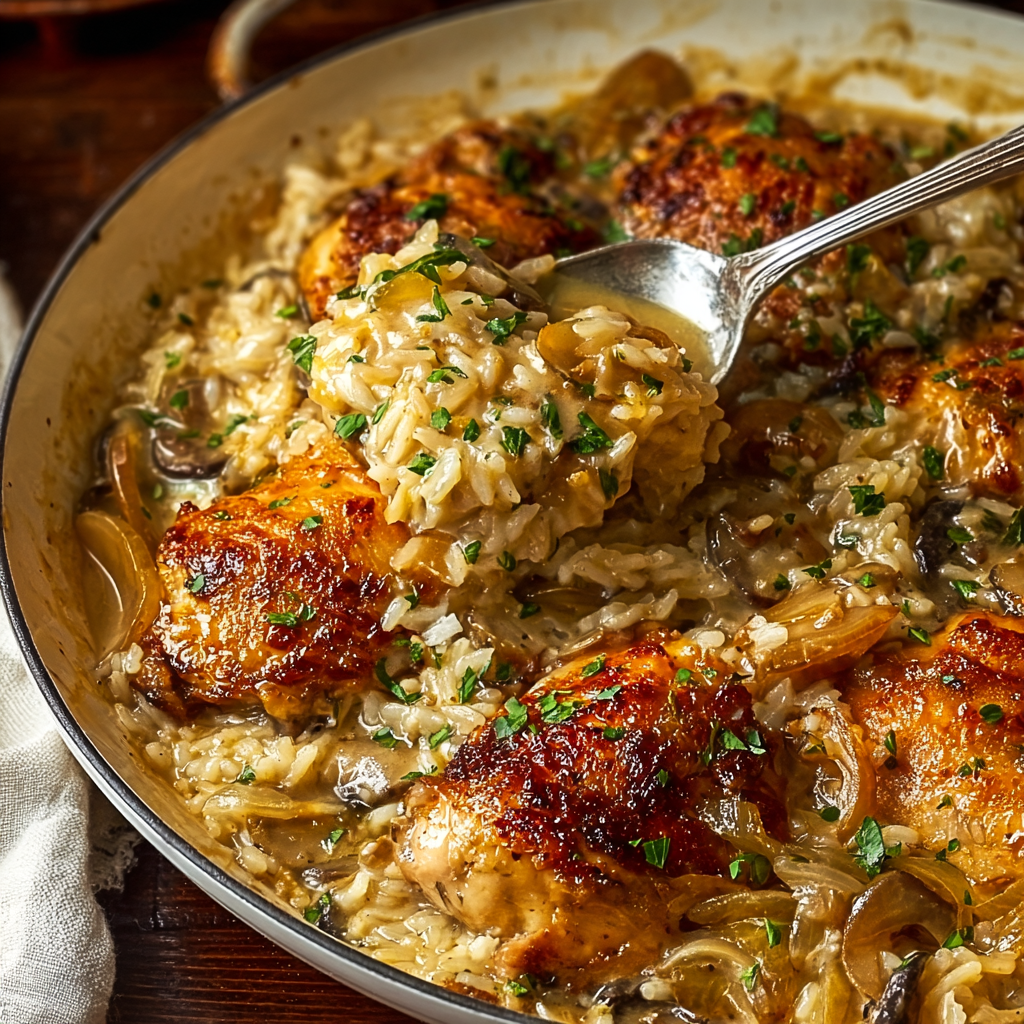
A cozy, one-skillet smothered chicken and rice dish with a creamy pan sauce—perfect for family weeknights and make-ahead dinners.

In my household this dish has a little legend: the skillet sits on the table and someone inevitably asks, "Did you make the thing with the good sauce?" It’s the kind of meal that makes company feel at home because it’s simple, comforting, and reliably delicious.

My favorite thing about this meal is how adaptable it is: I’ve served it with a quick green salad for weeknight dinners and dressed it up with roasted vegetables and crusty bread for visiting family. Once, for a snowfall dinner, I doubled the recipe and everyone came back for seconds and thirds—this is the kind of food that feels like a warm hug on a plate.
After cooling to room temperature (no more than two hours at room temp), transfer leftovers to shallow airtight containers to cool quickly. Refrigerate for up to 3 to 4 days; reheat gently over low heat on the stovetop with a splash of broth to revive the sauce, or microwave in covered portions stirring halfway through. For freezing, portion into freezer-safe containers, leaving a little headspace for expansion, and store up to 3 months. Thaw overnight in the refrigerator and reheat thoroughly to an internal temperature of 165°F. Avoid freezing if you’ve added fresh herbs—add them fresh when reheating.
If you prefer darker meat, swap chicken breasts for boneless, skinless thighs; thighs are more forgiving and stay juicier. For a dairy-free option, use a dairy-free condensed soup or make a quick roux with oil and a dairy-free milk substitute plus chicken stock. To make gluten-free, replace soy sauce with tamari or coconut aminos and use a gluten-free condensed soup. For a lighter version, substitute half-and-half thinned with broth for the condensed soup, though the texture will be less thick and you may want to reduce by simmering slightly longer.
Serve this dish directly from the skillet for casual family-style dining and garnish each plate with chopped parsley or fresh thyme sprigs. Pair with bright, acidic sides—think a crisp lemon-dressed arugula salad or quick pickled cucumbers—to cut through the richness. For heartier meals, add roasted green beans or a side of garlic-buttered broccoli. A squeeze of lemon at the table livens the flavors, and crusty bread is perfect for mopping up the sauce.
Smothered-style cooking has roots in Southern American cuisine, where meats are often braised or simmered in a rich sauce until tender. Combining a seared protein with a gravy-like base is a comforting technique across many traditions; this particular blend—using a condensed soup as a shortcut to a silky sauce—became popular in mid-20th-century American home cooking for its convenience and consistency. The dish adapts that approach into a one-skillet family meal blending classic comfort cooking with modern weeknight practicality.
In winter, fold in roasted root vegetables like diced carrots and parsnips for extra body, adding them to the pan when sautéing the onion so they soften during the simmer. In spring and summer, stir in fresh peas, chopped asparagus tips, or a handful of baby spinach during the last few minutes of cooking for bright color and freshness. For holiday gatherings, add a splash of white wine to the deglazing step for extra depth and finish with finely chopped fresh herbs to create a more refined presentation.
Prepare components ahead: chop onion and garlic and measure rice and liquids into a container to speed assembly. Sear chicken and cool, then store chicken and rice separately if you plan to reheat; this helps retain texture. For bulk cooking, double the recipe and use a wide, oven-safe skillet: after combining, finish covered in a 350°F oven for more even cooking. Label containers with date and reheating instructions if freezing for later use.
This smothered chicken and rice is comfort food at its most practical—simple to make, full of flavor, and forgiving for cooks at every level. Share it with family, stash portions for busy days, and don’t be shy about making it your own with herbs and seasonal tweaks.
Pat chicken dry before searing to achieve a good brown crust and better flavor.
Use low-sodium broth and soy sauce so you can control final seasoning and avoid over-salting.
Avoid lifting the lid during the covered simmer; trapped steam cooks the rice evenly.
If rice isn't fully tender at the end, add a few tablespoons of hot broth, stir gently, and resume covered cooking for 2–3 minutes.
This nourishing smothered chicken and rice comfort meal recipe is sure to be a staple in your kitchen. Enjoy every moist, high protein slice — it is perfect for breakfast or as a wholesome snack any time.
This Smothered Chicken and Rice Comfort Meal recipe makes perfectly juicy, tender, and flavorful steak every time! Serve with potatoes and a side salad for an unforgettable dinner in under 30 minutes.
Peel and finely chop the onion and mince the garlic. Pat chicken dry with paper towels and season both sides with salt and pepper. If breasts are uneven, gently pound to even thickness for uniform cooking.
Heat a large heavy skillet over medium-high heat and add 2 tablespoons olive oil. When oil shimmers, add chicken and brown 4–5 minutes per side until golden. Remove to a plate and tent with foil.
Reduce heat to medium and add chopped onion to the skillet, cooking about 3 minutes until softened. Add minced garlic and cook 30 seconds, scraping browned bits from the pan.
Add 1 cup rice to the skillet and stir 1–2 minutes until grains are coated and slightly toasted to help keep them separate after cooking.
Pour in 2 cups low-sodium chicken broth and 2 tablespoons soy sauce; bring to a simmer. Stir in the 10.5-ounce can of cream of chicken soup until combined. Nestle the browned chicken into the rice mixture.
Cover skillet, reduce heat to low, and simmer gently 20–25 minutes. Rice should be tender and liquid mostly absorbed. Verify chicken reaches 165°F. If needed, add a tablespoon or two of hot broth and continue covered briefly.
Last Step: Please leave a rating and comment letting us know how you liked this recipe! This helps our business to thrive and continue providing free, high-quality recipes for you.
Leave a comment & rating below or tag
@mrsrecipe on social media!

A crispy, tender chicken fried steak with a rich sausage cream gravy — classic comfort food perfect for family dinners and weekend indulgence.

Tall, cloudlike pancakes with a delicate eggy interior and golden exterior, perfect for a celebratory breakfast or a relaxed weekend treat.

Bell peppers filled with a rich, creamy chicken and cheese mixture—simple to assemble, family-friendly, and perfect for weeknight dinners or make-ahead meals.
Leave a comment & rating below or tag @mrsrecipe on social media!
Enjoyed this recipe? Share it with friends and family, and don't forget to leave a review!
This recipe looks amazing! Can't wait to try it.
Comments are stored locally in your browser. Server comments are displayed alongside your local comments.
Quick and easy dinner ideas delivered to your inbox.
