
Soft & Buttery Garlic Rolls

Pillowy, fragrant rolls enriched with garlic inside the dough and brushed with a glossy garlic-butter finish. Perfect for family dinners and weekend baking.
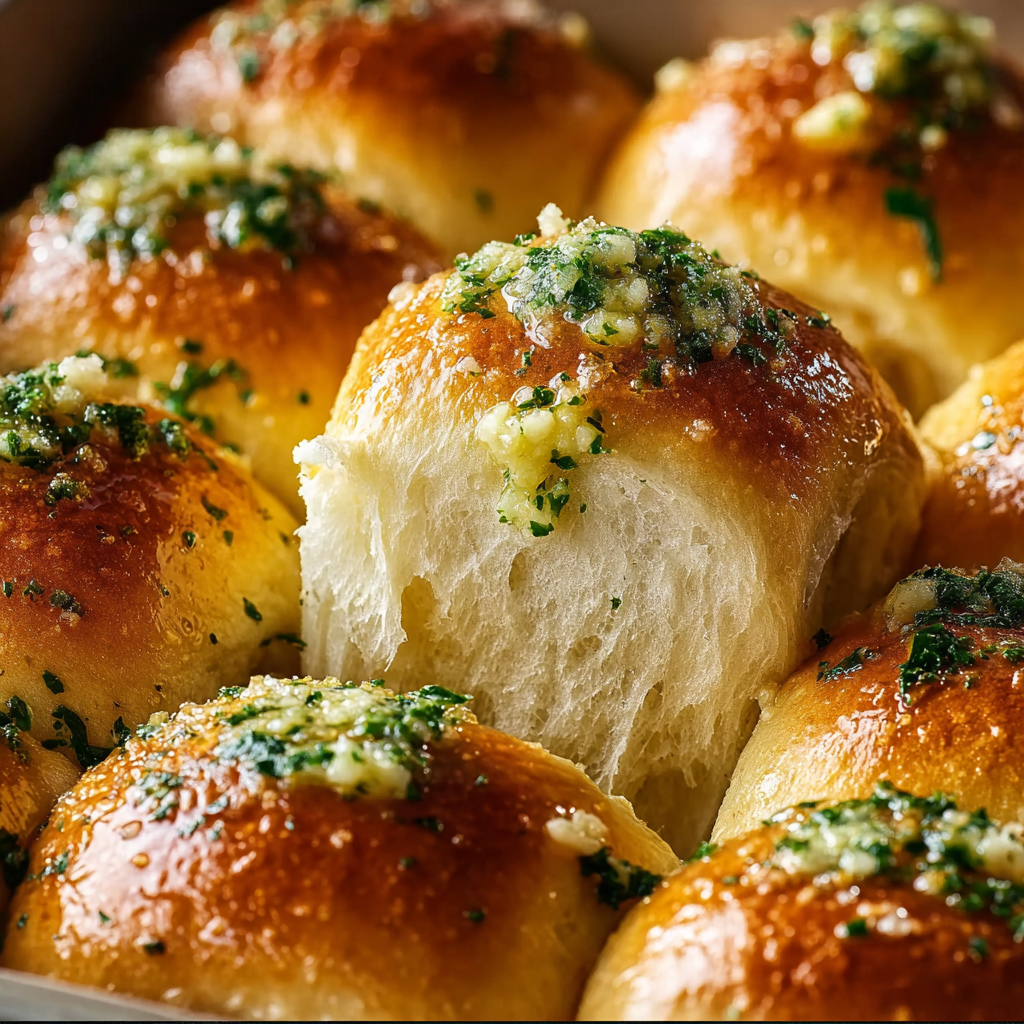
This recipe for Soft & Buttery Garlic Rolls has been a weekend ritual in my kitchen for years. I first developed the approach during a rainy Saturday afternoon when I wanted rolls that felt both indulgent and homey but were simple enough to make with a sleepy toddler underfoot. The trick, I learned, was folding finely minced garlic and fresh herbs directly into the dough so the flavor carries through every bite, rather than only sitting on top. The result is a roll with a tender, airy crumb and a savory scent that fills the house the moment they come out of the oven.
These rolls are special because they strike a balance between lightness and richness. The butter adds a soft crumb and a glossy finish when brushed right out of the oven, while the egg and warm milk create structure and tenderness. I remember one holiday when a neighbor popped by and left with a batch for her family; she returned the next day to ask for the recipe. Now they are our go-to for potlucks, soups, and any dinner that benefits from a little comforting bread on the side.
Why You'll Love This Recipe
- Every roll is flavored from the inside out because garlic is folded into the dough as well as into the finishing butter, so no bite feels bland.
- Hands-on time is reasonable: about 25 minutes active work and one predictable rise, making these ideal for a weekend baking session or a relaxed weeknight plan.
- Uses pantry staples and simple fresh herbs; no specialty flours required, which means easy shopping and fast prep.
- Make-ahead friendly: dough can be retarded in the fridge overnight for next-day baking and better flavor development.
- Presentation-friendly: glossy finish and flaky sea salt on top create an impressive look for guests with very little extra effort.
I always find the first few minutes after I brush the warm rolls with garlic-butter to be the most satisfying. The house fills with aroma, and my family tends to drift into the kitchen without being asked. These rolls have been a crowd-pleaser at family dinners and casual gatherings; people tend to reach for seconds and often ask me to double the batch.
Ingredients
- All-purpose flour 3 1/2 cups: Look for a reliable brand such as King Arthur or Gold Medal. Measure by spooning into the cup and leveling for accuracy. The flour provides gluten structure so the rolls rise tall but stay tender.
- Granulated sugar 2 to 3 tablespoons: Sugar feeds the yeast and adds a touch of sweetness that balances the savory garlic. Use 3 tablespoons if you prefer a slightly richer color and softer crust.
- Instant yeast 2 1/4 teaspoons: Standard single packet. Instant yeast can be mixed directly into the dry ingredients for convenience.
- Salt 1 teaspoon: Use fine table salt for even distribution. Salt controls yeast activity and enhances flavor.
- Milk 1 cup, warmed: Whole or 2 percent milk works best. Warm to about 105 to 115 degrees F to activate the yeast without killing it; this also tenderizes the dough.
- Unsalted butter 4 1/2 tablespoons, melted: Melt and cool slightly before adding. Butter adds richness and soft crumb. Reserve extra for brushing after baking.
- Large egg 1, room temperature: Adds moisture, color, and enriches the dough for a soft interior.
- Fresh garlic 2 tablespoons, finely minced: Mince very finely so it distributes through the dough without creating large pockets. Fresh garlic gives a bright, savory note.
- Fresh parsley or herbs 3 tablespoons, chopped (optional): Flat-leaf parsley, thyme, or oregano add freshness. Chop finely to avoid big herb pockets.
- For brushing: 2 tablespoons melted unsalted butter mixed with 1 tablespoon minced garlic and 1 tablespoon chopped parsley, with flaky sea salt for finishing if desired.
Instructions
Mix the dough: In a large bowl whisk the flour, sugar, instant yeast, and salt until combined. Stir in the finely minced garlic and chopped herbs so they are evenly distributed. Warm the milk to about 105 to 115 degrees F and whisk in the melted butter and the room-temperature egg. Pour the wet ingredients into the dry and stir with a wooden spoon until a shaggy dough forms. Knead until smooth: Turn the dough onto a lightly floured surface and knead for 6 to 8 minutes until smooth, elastic, and slightly tacky. You can use a stand mixer with the dough hook on low for 5 minutes. Proper gluten development gives the rolls structure while keeping them tender; look for a dough that springs back when gently poked. First rise: Place the dough in a lightly oiled bowl, cover with plastic wrap or a damp towel, and let it rise in a warm draft-free spot until doubled in size, about 60 to 75 minutes depending on room temperature. For deeper flavor, refrigerate the dough overnight after its first 30 minutes of rise and allow it to finish rising the next morning. Shape the rolls: Punch down the dough and turn it onto a lightly floured surface. Divide into 12 equal pieces, about 2 ounces (55 grams) each if you use a scale. Shape each piece into a smooth ball by folding edges underneath and rolling with your palm. Place the rolls in a buttered 9 by 13-inch pan or on a sheet pan spaced slightly apart for crispier sides. Second rise and bake: Cover the shaped rolls and let them rise until puffy and nearly doubled, 30 to 45 minutes. Meanwhile preheat the oven to 375 degrees F. Bake for 18 to 22 minutes until the tops are golden and the internal temperature reaches about 190 degrees F. If the tops brown too quickly, tent loosely with foil. Finish with garlic-butter: While the rolls bake, stir together the melted butter, minced garlic, and chopped parsley for the brush. As soon as the rolls come out of the oven, brush liberally with the garlic-butter so it melts into the crust. Sprinkle a little flaky sea salt if you like. Let cool slightly before serving so the crumb sets but remain warm enough to be irresistible.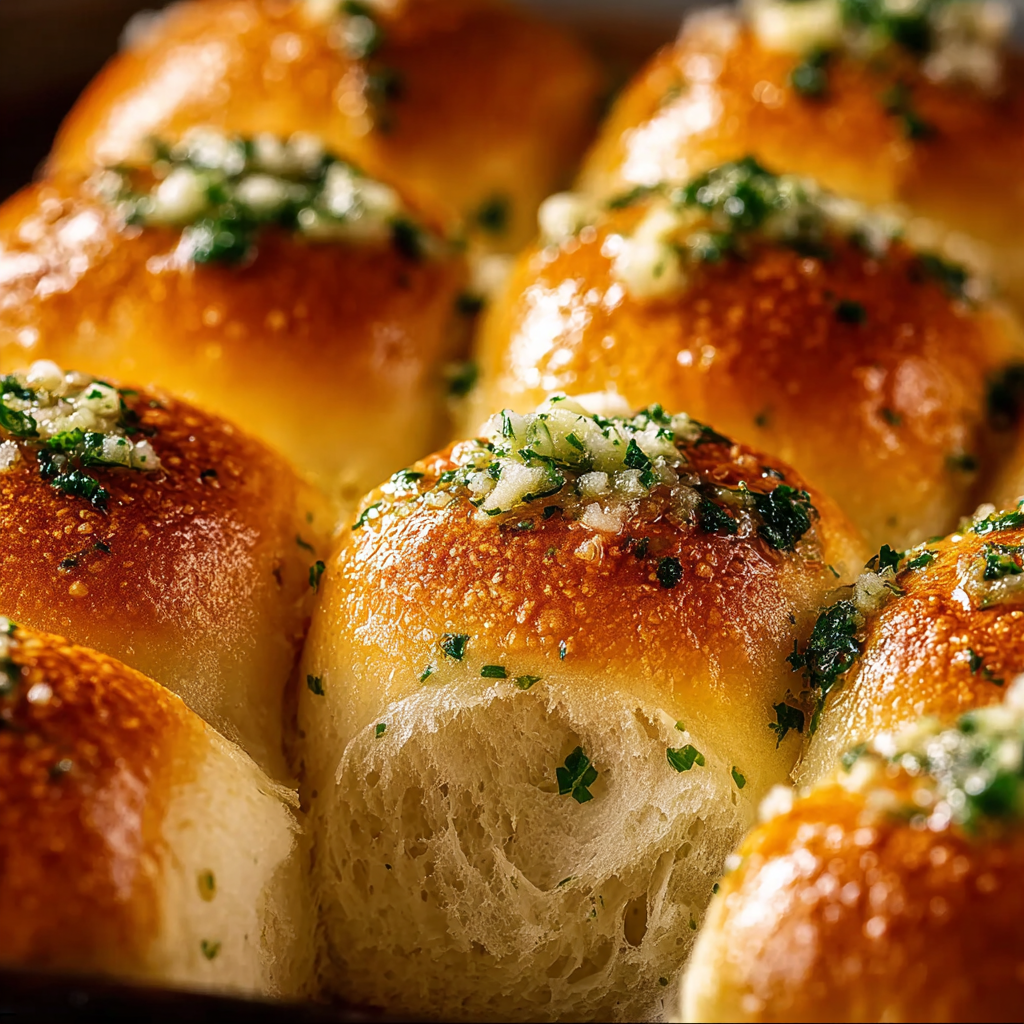
You Must Know
- These rolls freeze exceptionally well for up to three months. Cool completely, freeze in a single layer, then transfer to a zip-top bag. Reheat at 325 degrees F until warmed through.
- The recipe is high in dairy and contains eggs and gluten, so keep that in mind for guests with allergies.
- Room temperature and yeast performance affect rise time; warmer kitchens shorten the fermentation window and cooler kitchens lengthen it.
- Brushing immediately after baking yields the best glossy finish and locks in garlic aroma.
My favorite part of these rolls is the smell the house carries after baking. Several readers have told me these transported them back to family dinners from childhood, and I often get notes about how the garlic-in-the-dough idea made the rolls taste more homemade than anything from a store. Those kinds of messages remind me why I love sharing these techniques.

Storage Tips
Store cooled rolls in an airtight container or a zip-top bag at room temperature for up to two days. To keep them fresher, place a paper towel in the container to absorb excess moisture. For longer storage, freeze as described above and reheat from frozen at 325 degrees F for 12 to 18 minutes, or until warmed through. If you have leftover garlic butter, refrigerate it for up to one week and rewarm gently before brushing reheated rolls. Avoid microwaving frozen rolls as it can make the crumb gummy; use a gentle oven reheat instead.
Ingredient Substitutions
If you want dairy-free rolls, substitute a plant-based butter that behaves like butter in baking and use a non-dairy milk such as oat or soy, warmed to the same temperature as the recipe calls for. Reduce sugar to 2 tablespoons if using sweeter milk alternatives. For an egg-free option, replace the egg with 3 tablespoons of plain yogurt or 1/4 cup applesauce and expect a slightly different crumb and color. Whole wheat flour can replace up to half the all-purpose for a nuttier flavor; add an extra tablespoon of milk if the dough feels too stiff.
Serving Suggestions
Serve warm with soups such as tomato basil, creamy mushroom, or a hearty beef stew. They are also excellent as sandwich rolls—split and fill with roasted chicken and greens for a simple lunch. Garnish with additional chopped parsley and a sprinkle of flaky sea salt for contrast. For a brunch twist, serve alongside scrambled eggs and herb butter, or create small sliders with roasted vegetables and melted cheese for casual entertaining.
Cultural Background
Soft buttered rolls have roots in many Western home-baking traditions where enriched doughs are common for celebratory breads and dinner accompaniments. Adding garlic and herbs is a simple innovation that draws on Mediterranean and American flavor habits, blending the approachability of classic dinner rolls with the savory punch of garlic bread. These rolls are a modern, home-friendly adaptation that honours both comfort-bread techniques and bold, aromatic seasoning.
Seasonal Adaptations
In spring and summer use fresh dill or basil in place of parsley for a bright lift. In late fall or winter add a tablespoon of roasted garlic paste instead of raw garlic for a milder, sweeter note that pairs beautifully with roasted meats. For holidays add 1/4 cup grated parmesan into the dough for an indulgent twist, or top with a light dusting of chopped rosemary and coarse salt for a festive aroma.
Meal Prep Tips
To bake ahead, prepare the dough and shape the rolls, then place them in the pan covered and refrigerate overnight. The slow cold proof develops flavor and allows you to bake in the morning with minimal effort. Portion shaped rolls into individual containers for packed lunches and reheat gently as described. If you bake a double batch, freeze extras on a sheet pan first to avoid sticking, then transfer to bags once solid. Label with the date and reheat directly from frozen when needed.
These Soft & Buttery Garlic Rolls bring a lot of warmth to a meal with modest effort. They are a dependable recipe that invites personal touches, from herb choices to method tweaks. Share them with friends, freeze extras for busy nights, and have fun making the rolls your own.
Pro Tips
Use room-temperature egg and warm milk to help the dough come together smoothly and yield a tender crumb.
Minced garlic should be very fine to distribute flavor without sharp pockets; if preferred, roast the garlic for a milder taste.
For a shiny, golden top brush a thin layer of egg wash before baking then finish with garlic-butter after baking for aroma.
This nourishing soft & buttery garlic rolls recipe is sure to be a staple in your kitchen. Enjoy every moist, high protein slice — it is perfect for breakfast or as a wholesome snack any time.
FAQs about Recipes
How do I know when the dough has risen enough?
Let the dough rise in a warm, draft-free spot until doubled; if your kitchen is cool, allow extra time. A warm oven (turned off) with a bowl of hot water creates a good environment.
Can I freeze the rolls?
Yes. Cool completely, wrap individually or in a single layer, freeze for up to three months, and reheat at 325 degrees F until warmed through.
Tags
Soft & Buttery Garlic Rolls
This Soft & Buttery Garlic Rolls recipe makes perfectly juicy, tender, and flavorful steak every time! Serve with potatoes and a side salad for an unforgettable dinner in under 30 minutes.
Ingredients
Dough
Garlic Butter Brush
Instructions
Mix the dough
Combine dry ingredients and add minced garlic and herbs. Stir warm milk, melted butter, and egg into the dry mix until a shaggy dough forms.
Knead until smooth
Knead on a floured surface for 6 to 8 minutes or 5 minutes in a stand mixer until dough is elastic and slightly tacky.
First rise
Place dough in an oiled bowl, cover, and let rise in a warm spot until doubled, about 60 to 75 minutes. For overnight flavor, refrigerate after 30 minutes.
Shape the rolls
Divide dough into 12 equal pieces, shape into smooth balls, and place in a buttered pan about 1 inch apart for soft sides or spaced for crustier edges.
Second rise and bake
Let shaped rolls rise until puffy, preheat oven to 375 degrees F, and bake 18 to 22 minutes until golden and internal temperature reaches about 190 degrees F.
Finish with garlic-butter
Mix melted butter with minced garlic and parsley, brush on rolls immediately after baking, and sprinkle flaky sea salt if desired.
Last Step: Please leave a rating and comment letting us know how you liked this recipe! This helps our business to thrive and continue providing free, high-quality recipes for you.
Nutrition
Did You Make This?
Leave a comment & rating below or tag
@mrsrecipe on social media!
Categories:
You might also like...

Best Chicken Fried Steak
A crispy, tender chicken fried steak with a rich sausage cream gravy — classic comfort food perfect for family dinners and weekend indulgence.

Fluffy Japanese Soufflé Pancakes
Tall, cloudlike pancakes with a delicate eggy interior and golden exterior, perfect for a celebratory breakfast or a relaxed weekend treat.

Creamy Chicken Stuffed Peppers
Bell peppers filled with a rich, creamy chicken and cheese mixture—simple to assemble, family-friendly, and perfect for weeknight dinners or make-ahead meals.
Did You Make This?
Leave a comment & rating below or tag @mrsrecipe on social media!
Rate This Recipe
Share This Recipe
Enjoyed this recipe? Share it with friends and family, and don't forget to leave a review!
Comments (1)
This recipe looks amazing! Can't wait to try it.
Comments are stored locally in your browser. Server comments are displayed alongside your local comments.
Hi, I'm Clara!
What's Popular

Get My 30-Minute Meals email series!
Quick and easy dinner ideas delivered to your inbox.