>>
30-MINUTE MEALS! Get the email series now →


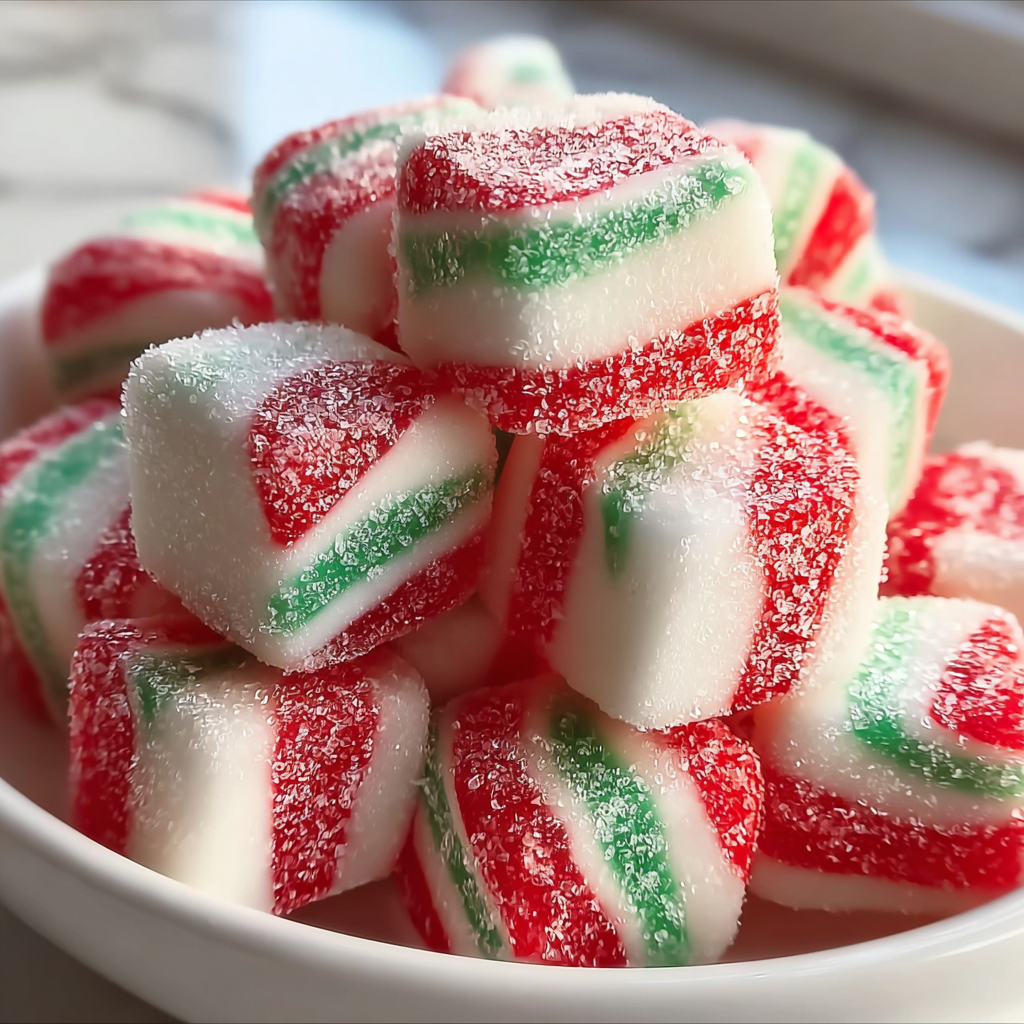
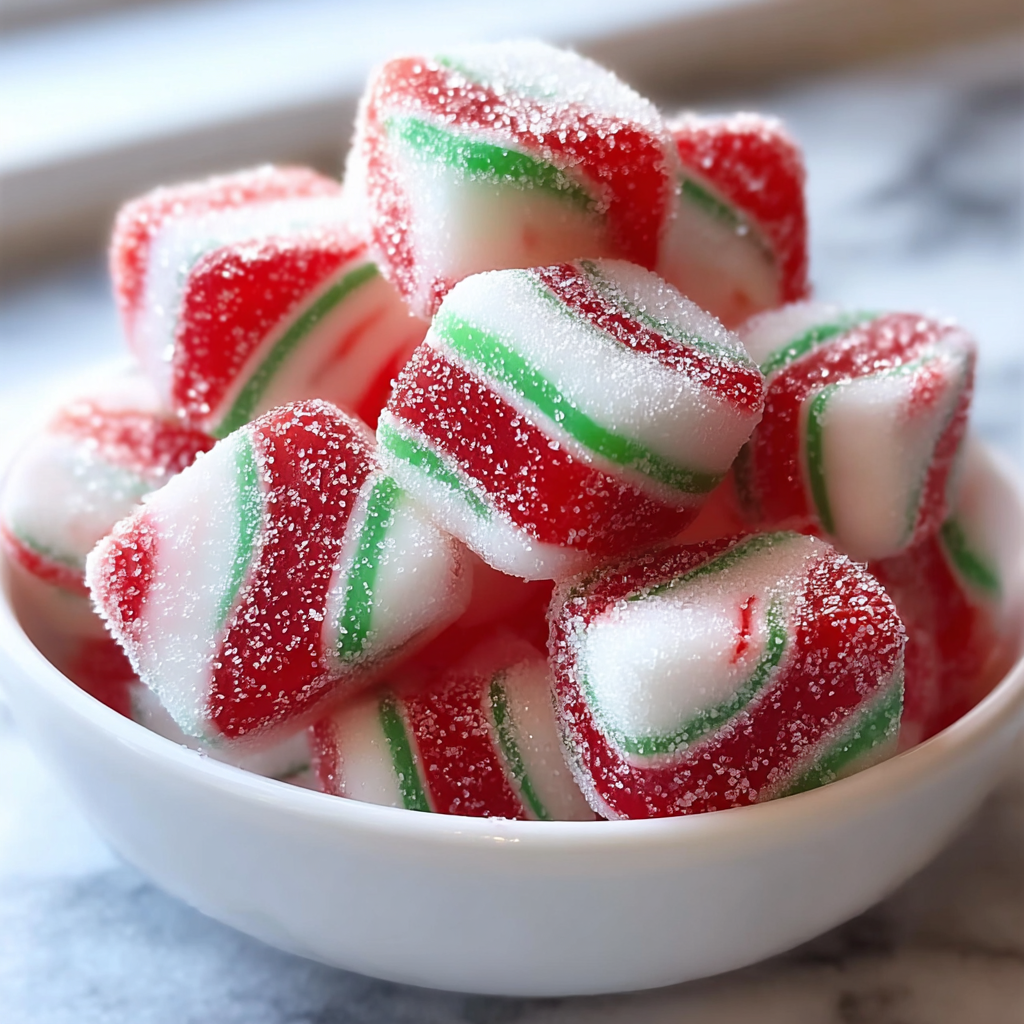
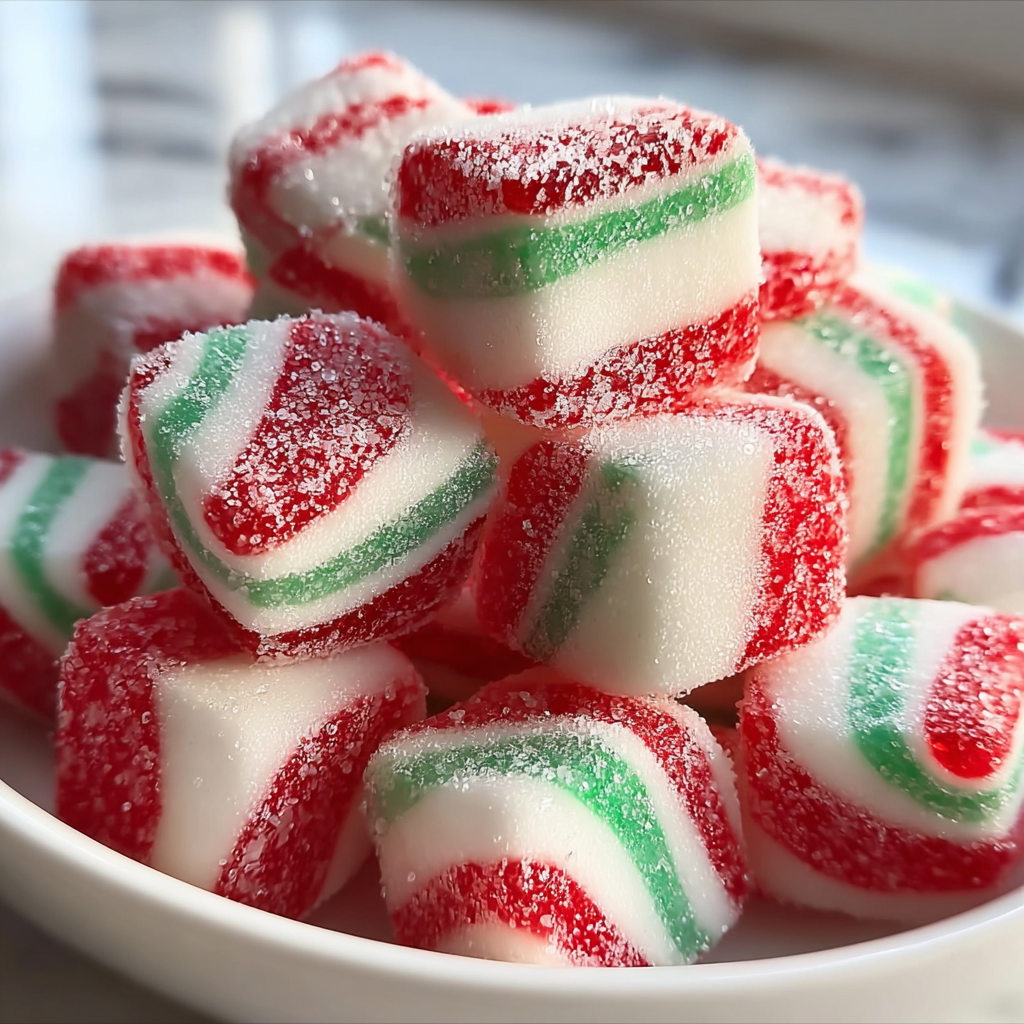
Chewy, festive peppermint discs with red, green, and white swirls coated in sparkling sugar. A simple no-bake holiday candy everyone will love.
This batch of soft Christmas peppermints became our holiday tradition the year I needed a small, no-bake treat I could make between wrapping gifts and answering holiday texts. I discovered the combination of powdered sugar and sweetened condensed milk almost by accident while improvising an after-dinner mint to calm the family after a too-spicy curry. The texture surprised me. Instead of brittle candy, I ended up with tender, marshmallow-adjacent discs that melted on the tongue with a bright peppermint note. They are playful to make, easy for kids to help shape, and they travel well tucked into tins for neighbors or teachers.
I like these because they are forgiving. The dough can be adjusted with a tablespoon of powdered sugar at a time until the feel is right, and the gel food coloring gives a deep holiday tone without watering down the mixture. The finished candies are soft but hold their shape when allowed to dry, with a glossy interior and a sparkly sugar exterior. Serving them after a heavy meal feels light and festive, and I have fond memories of my sister and I twisting the ropes together while humming carols late one snowy afternoon. These discs are candy and craft in one, and they make gift giving simple and personal.
In my experience, the red and green swirls make everyone smile. One year I wrapped an assortment for my neighbors and received a knock at my door the next morning with extra cookies in return. It is a simple treat that sparks conversation and creates small holiday rituals.
I love how these candies double as a small craft. Kids often inspect their color choices like artists. One holiday I made a batch in tiny disc shapes and wrapped them in old sheet music to give to choir members. The reaction was small delight after seasonal rehearsals, and that type of small kindness is my favorite part of making these.
Store the sweets in a single layer in an airtight container at room temperature. If you need to stack layers, separate them with parchment paper to preserve the sugar coating. They will keep for about five days on the counter. For longer storage, freeze in a rigid container for up to three months. When thawing, allow them to come to room temperature in the closed container to prevent condensation from making the surface sticky. Look for a firm outer skin and a tender interior as a sign of ideal texture.
If you need a dairy free alternative, substitute sweetened condensed coconut milk in place of the regular condensed milk. Expect a slight coconut flavor and a softer color blending. For a natural coloring option, use beet powder for red and spirulina for green but be aware these are less vibrant than gel colors and can alter the flavor slightly. If you prefer a stronger mint, use 3/4 teaspoon peppermint extract but reduce if you are serving to children. Avoid using liquid food coloring which will change the dough consistency.
Serve these as a petite after-dinner mint on a chilled tray. They pair well with black coffee or a lightly sweetened tea. For a decorative touch, place a small cluster in cello bags and tie with festive ribbon for gifts. These also look charming arranged on a small porcelain plate beside holiday cookies. Garnish with a tiny sprig of fresh mint if presenting immediately, keeping in mind the fresh herb will add moisture if stored together.
Peppermint candies have a long history as palate cleansers after meals. These soft discs are a modern adaptation inspired by rolled candy canes and old-fashioned mints. Using condensed milk and powdered sugar to create tender confections draws on mid-century home candy-making techniques that favored simple, reliable ingredients. The red, white, and green motif is a seasonal choice that echoes traditional holiday colors used in many Western celebrations.
For winter gatherings, make the colors deep and jewel-like. For other seasons, swap colors. Pastel dyes work well for spring, and orange with brown can be autumnal. For a New Year version, replace the peppermint extract with a drop of bourbon and finish with a light sprinkle of coarse sanding sugar for sparkle. These small changes keep the method but tailor the flavor to the occasion.
Prepare multiple batches and store them in separate airtight containers for grab-and-go treats during busy holiday weeks. The dough freezes well in a log shape wrapped tightly, thaw and slice then roll in sugar. To save time the day of an event, twist ropes ahead and refrigerate between sheets of parchment for up to 24 hours then cut and finish with the sugar coating just before serving.
These soft peppermints are simple, joyful, and generous. They are an easy way to add a homemade touch to the holidays and to share a small moment of delight with friends and family. I hope your kitchen fills with the same quiet pleasure it fills mine each season when these come out.
Sift powdered sugar to remove lumps and ensure a smooth dough.
Add powdered sugar one tablespoon at a time if the dough is too sticky.
Use gel food coloring to avoid changing dough consistency.
If the dough warms from handling, chill briefly to make rolling easier.
Separate layers with parchment paper when storing to protect the sugar coating.
This nourishing soft christmas peppermints recipe is sure to be a staple in your kitchen. Enjoy every moist, high protein slice — it is perfect for breakfast or as a wholesome snack any time.
Yes. Store in an airtight container at room temperature for up to five days, or freeze for up to three months.
It is best to let them dry at room temperature for several hours or overnight until the exterior is slightly firm before packaging.
This Soft Christmas Peppermints recipe makes perfectly juicy, tender, and flavorful steak every time! Serve with potatoes and a side salad for an unforgettable dinner in under 30 minutes.
Sift 3 3/4 cups powdered sugar into a large bowl, reserving a small amount for dusting the work surface. Sifting ensures a smooth, lump-free dough.
Add 1/3 cup sweetened condensed milk and 1/2 teaspoon peppermint extract to the sifted sugar. Mix with a spatula until a sticky, cohesive dough forms. Add powdered sugar one tablespoon at a time if too wet.
Divide the dough into three portions. Leave one portion white and color the other two with red and green gel food coloring. Knead until the color is even and the dough is smooth.
Dust the work surface lightly with reserved powdered sugar and roll each colored dough into ropes about 1/2 inch thick. Keep ropes uniform in thickness.
Press the three ropes together, twist gently to create a candy cane effect, cut into 2-inch segments, then shape each into a small round or disc by slightly flattening in your palm.
Roll each disc in granulated sugar, place on a parchment-lined baking sheet, and allow to dry at room temperature for several hours or overnight until firm to the touch.
Last Step: Please leave a rating and comment letting us know how you liked this recipe! This helps our business to thrive and continue providing free, high-quality recipes for you.
Leave a comment & rating below or tag
@mrsrecipe on social media!

A crispy, tender chicken fried steak with a rich sausage cream gravy — classic comfort food perfect for family dinners and weekend indulgence.

Tall, cloudlike pancakes with a delicate eggy interior and golden exterior, perfect for a celebratory breakfast or a relaxed weekend treat.

Bell peppers filled with a rich, creamy chicken and cheese mixture—simple to assemble, family-friendly, and perfect for weeknight dinners or make-ahead meals.
Leave a comment & rating below or tag @mrsrecipe on social media!
Enjoyed this recipe? Share it with friends and family, and don't forget to leave a review!
This recipe looks amazing! Can't wait to try it.
Comments are stored locally in your browser. Server comments are displayed alongside your local comments.
Quick and easy dinner ideas delivered to your inbox.
